I Made an Arcade Cabinet

As a kid in the 80s and 90s there were a few things that you could see in a friend’s house that would immediately impress you. Examples would be, a second fridge, usually in the garage, one of those big projection TVs, or, and this is the big one, a full stand-up arcade cabinet. It really didn’t matter what game it was. If your friend’s house had an arcade cabinet they were cool, probably rich, and by extension you were kinda cool. The math was simple. Arcades were so awesome that even 1/100th of an arcade at your house was jaw-droopingly awesome.
I have always wanted an arcade cabinet.
I never had room for one though…until I refactored my home office a year ago and thought that I just might have enough space to put a custom arcade cabinet in here. Do I really have the room, money, patience, skill desire to build an arcade cabinet and to live the dream of dreams?!
Yes. I built an arcade cabinet from scratch.
The Build
Let’s get the first question out of the way: No, I can’t share my plans with you because I kinda made it up as I went along. Sorry. Just casually ad hoc’ing the design and making the build process slow and contemplative was one of my goals, so I looked at a bunch of other plans online and then one day said: “Ok, I think I have a general idea.” and walked to the workshop. Once I started building it took roughly seven weeks, with progress picking up once I was happy with the dimensions and shape and had the basic structure locked in. As I didn’t plan really anything ahead of time, you might be wondering if that caused me some problems, and yes, it did! I knew it would though, and solving those problems while moving forward was absolutely part of the challenge I set for myself a big part of what made his such a fun build.
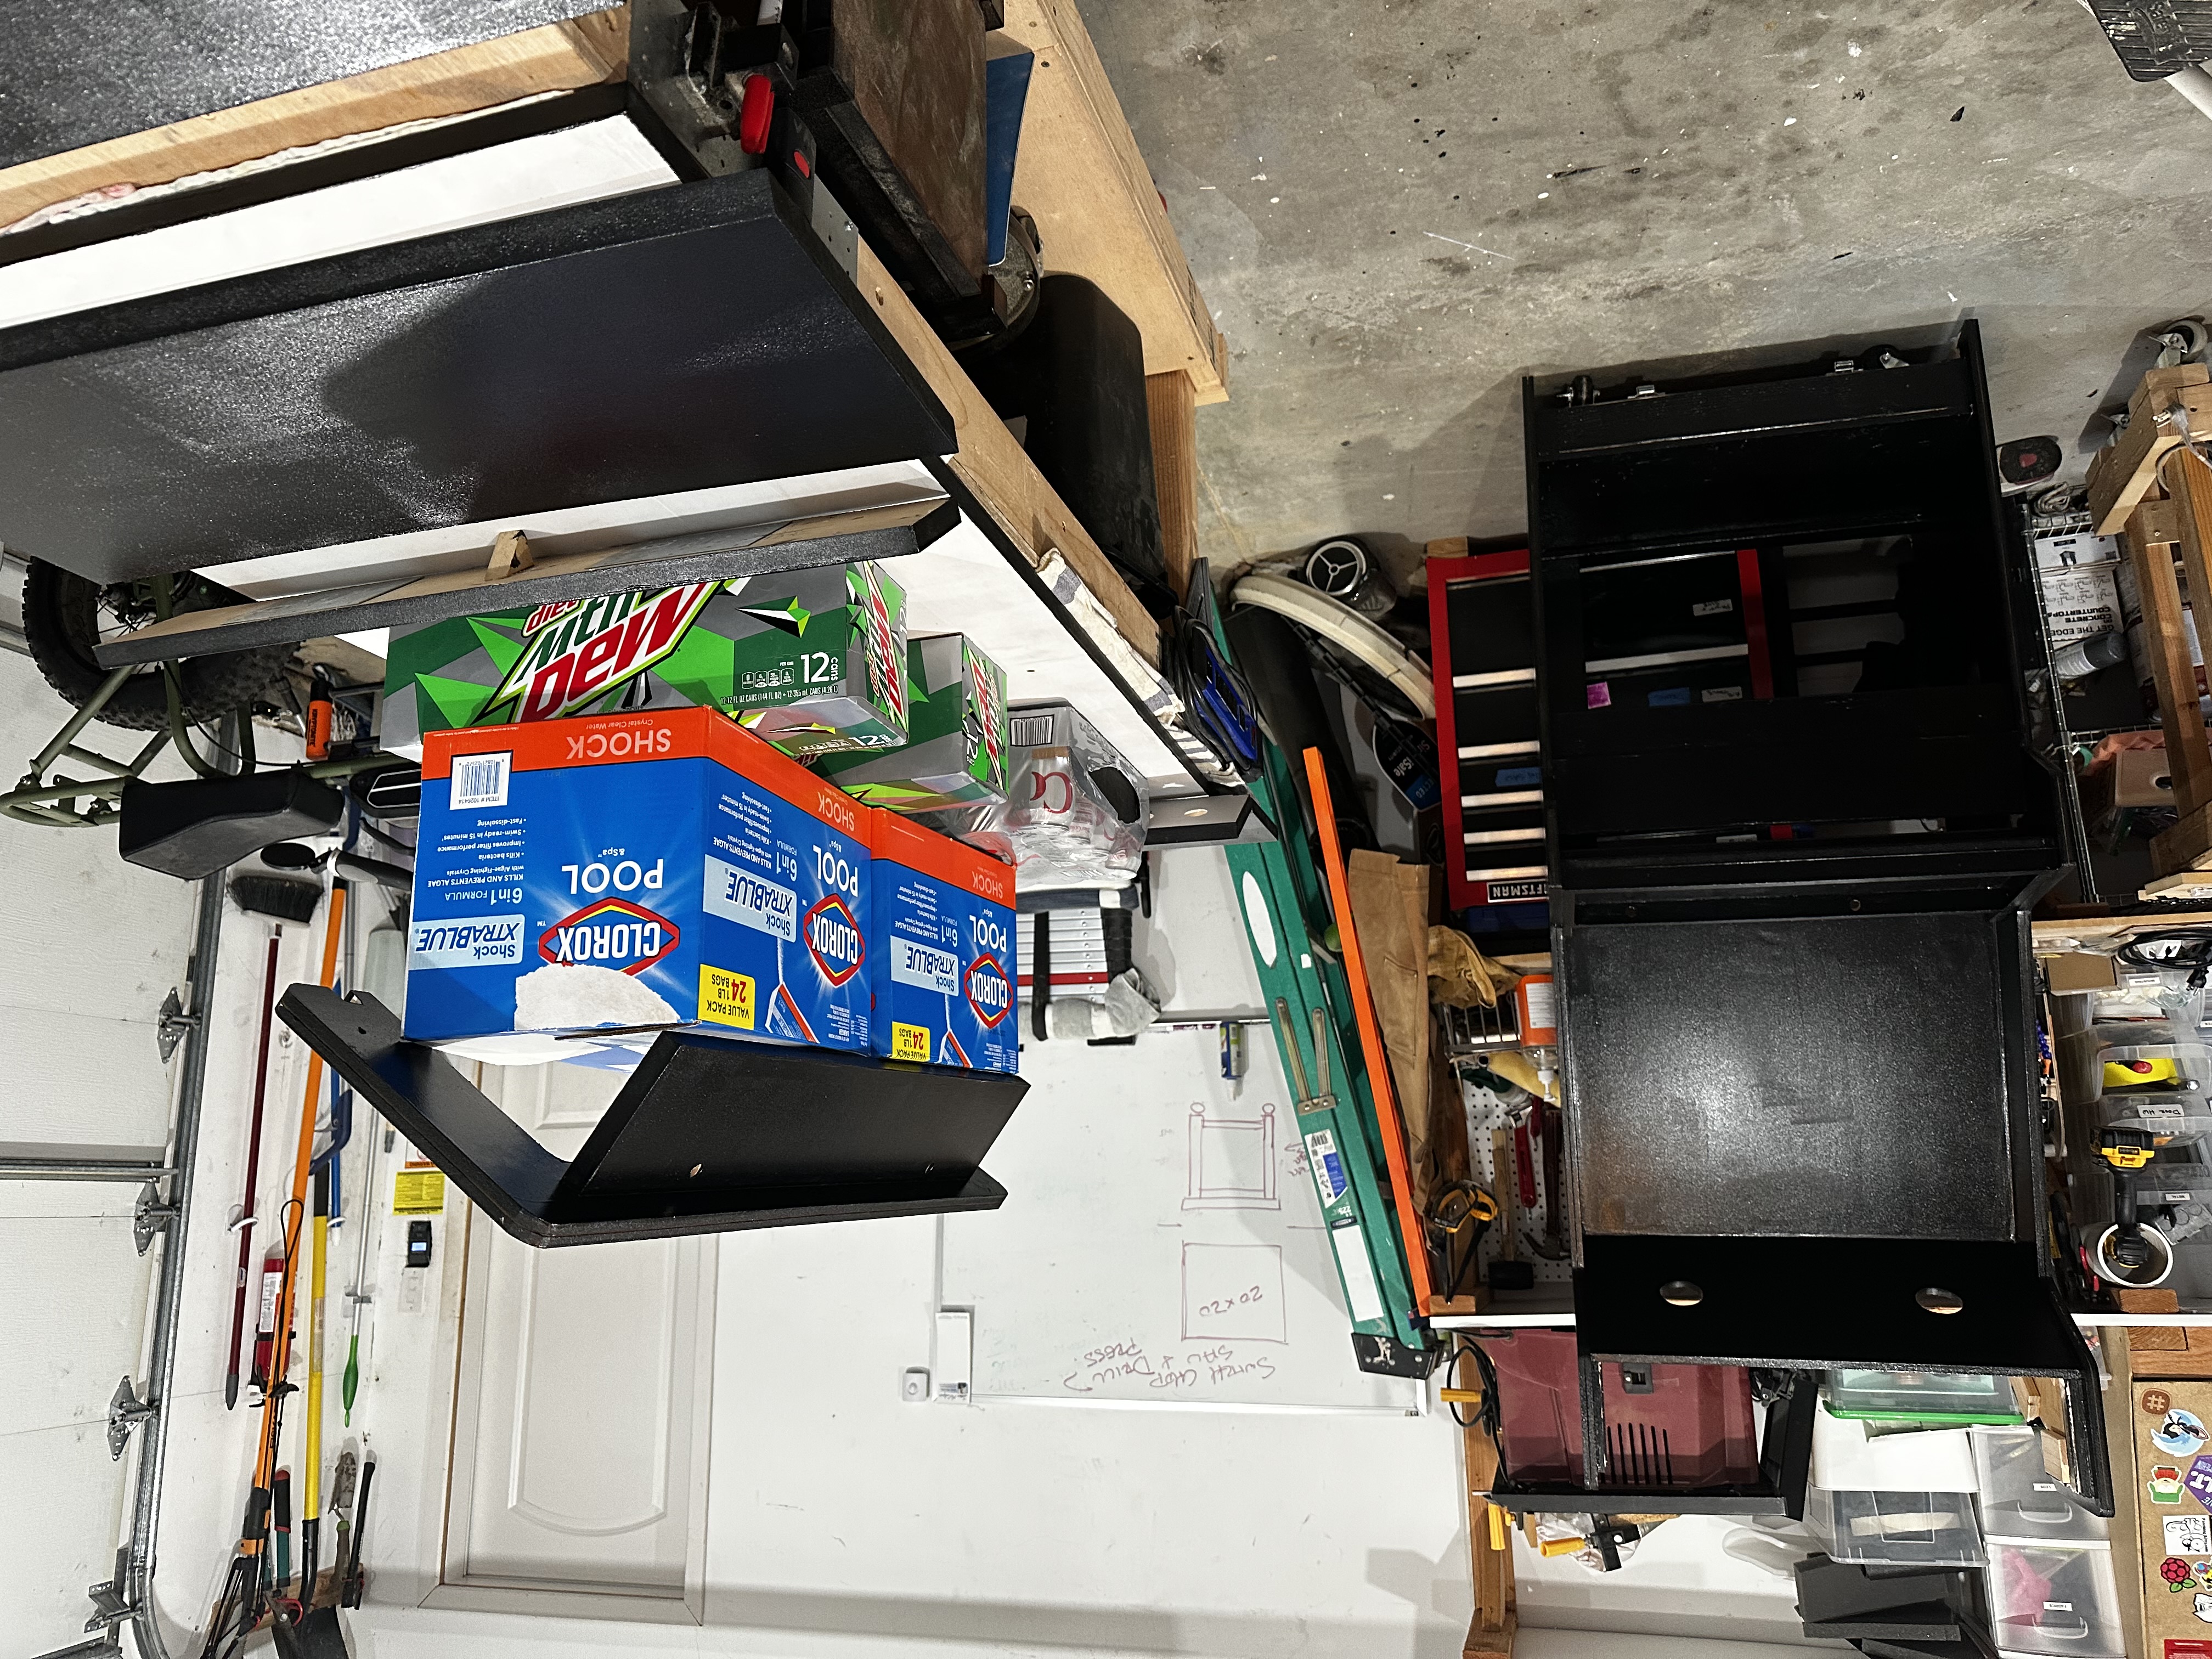
The first thing I built was a 2x4 and plywood base with casters. It wasn’t meant to be pretty (it wasn’t but you would never see any of this once the cabinet was completed), but I wanted to use it as a way to confirm the base dimensions would work in my office as I didn’t want this thing to be so big that it didn’t work in the once place it could live. I was pretty pleased with the size, so it was time to move forward.
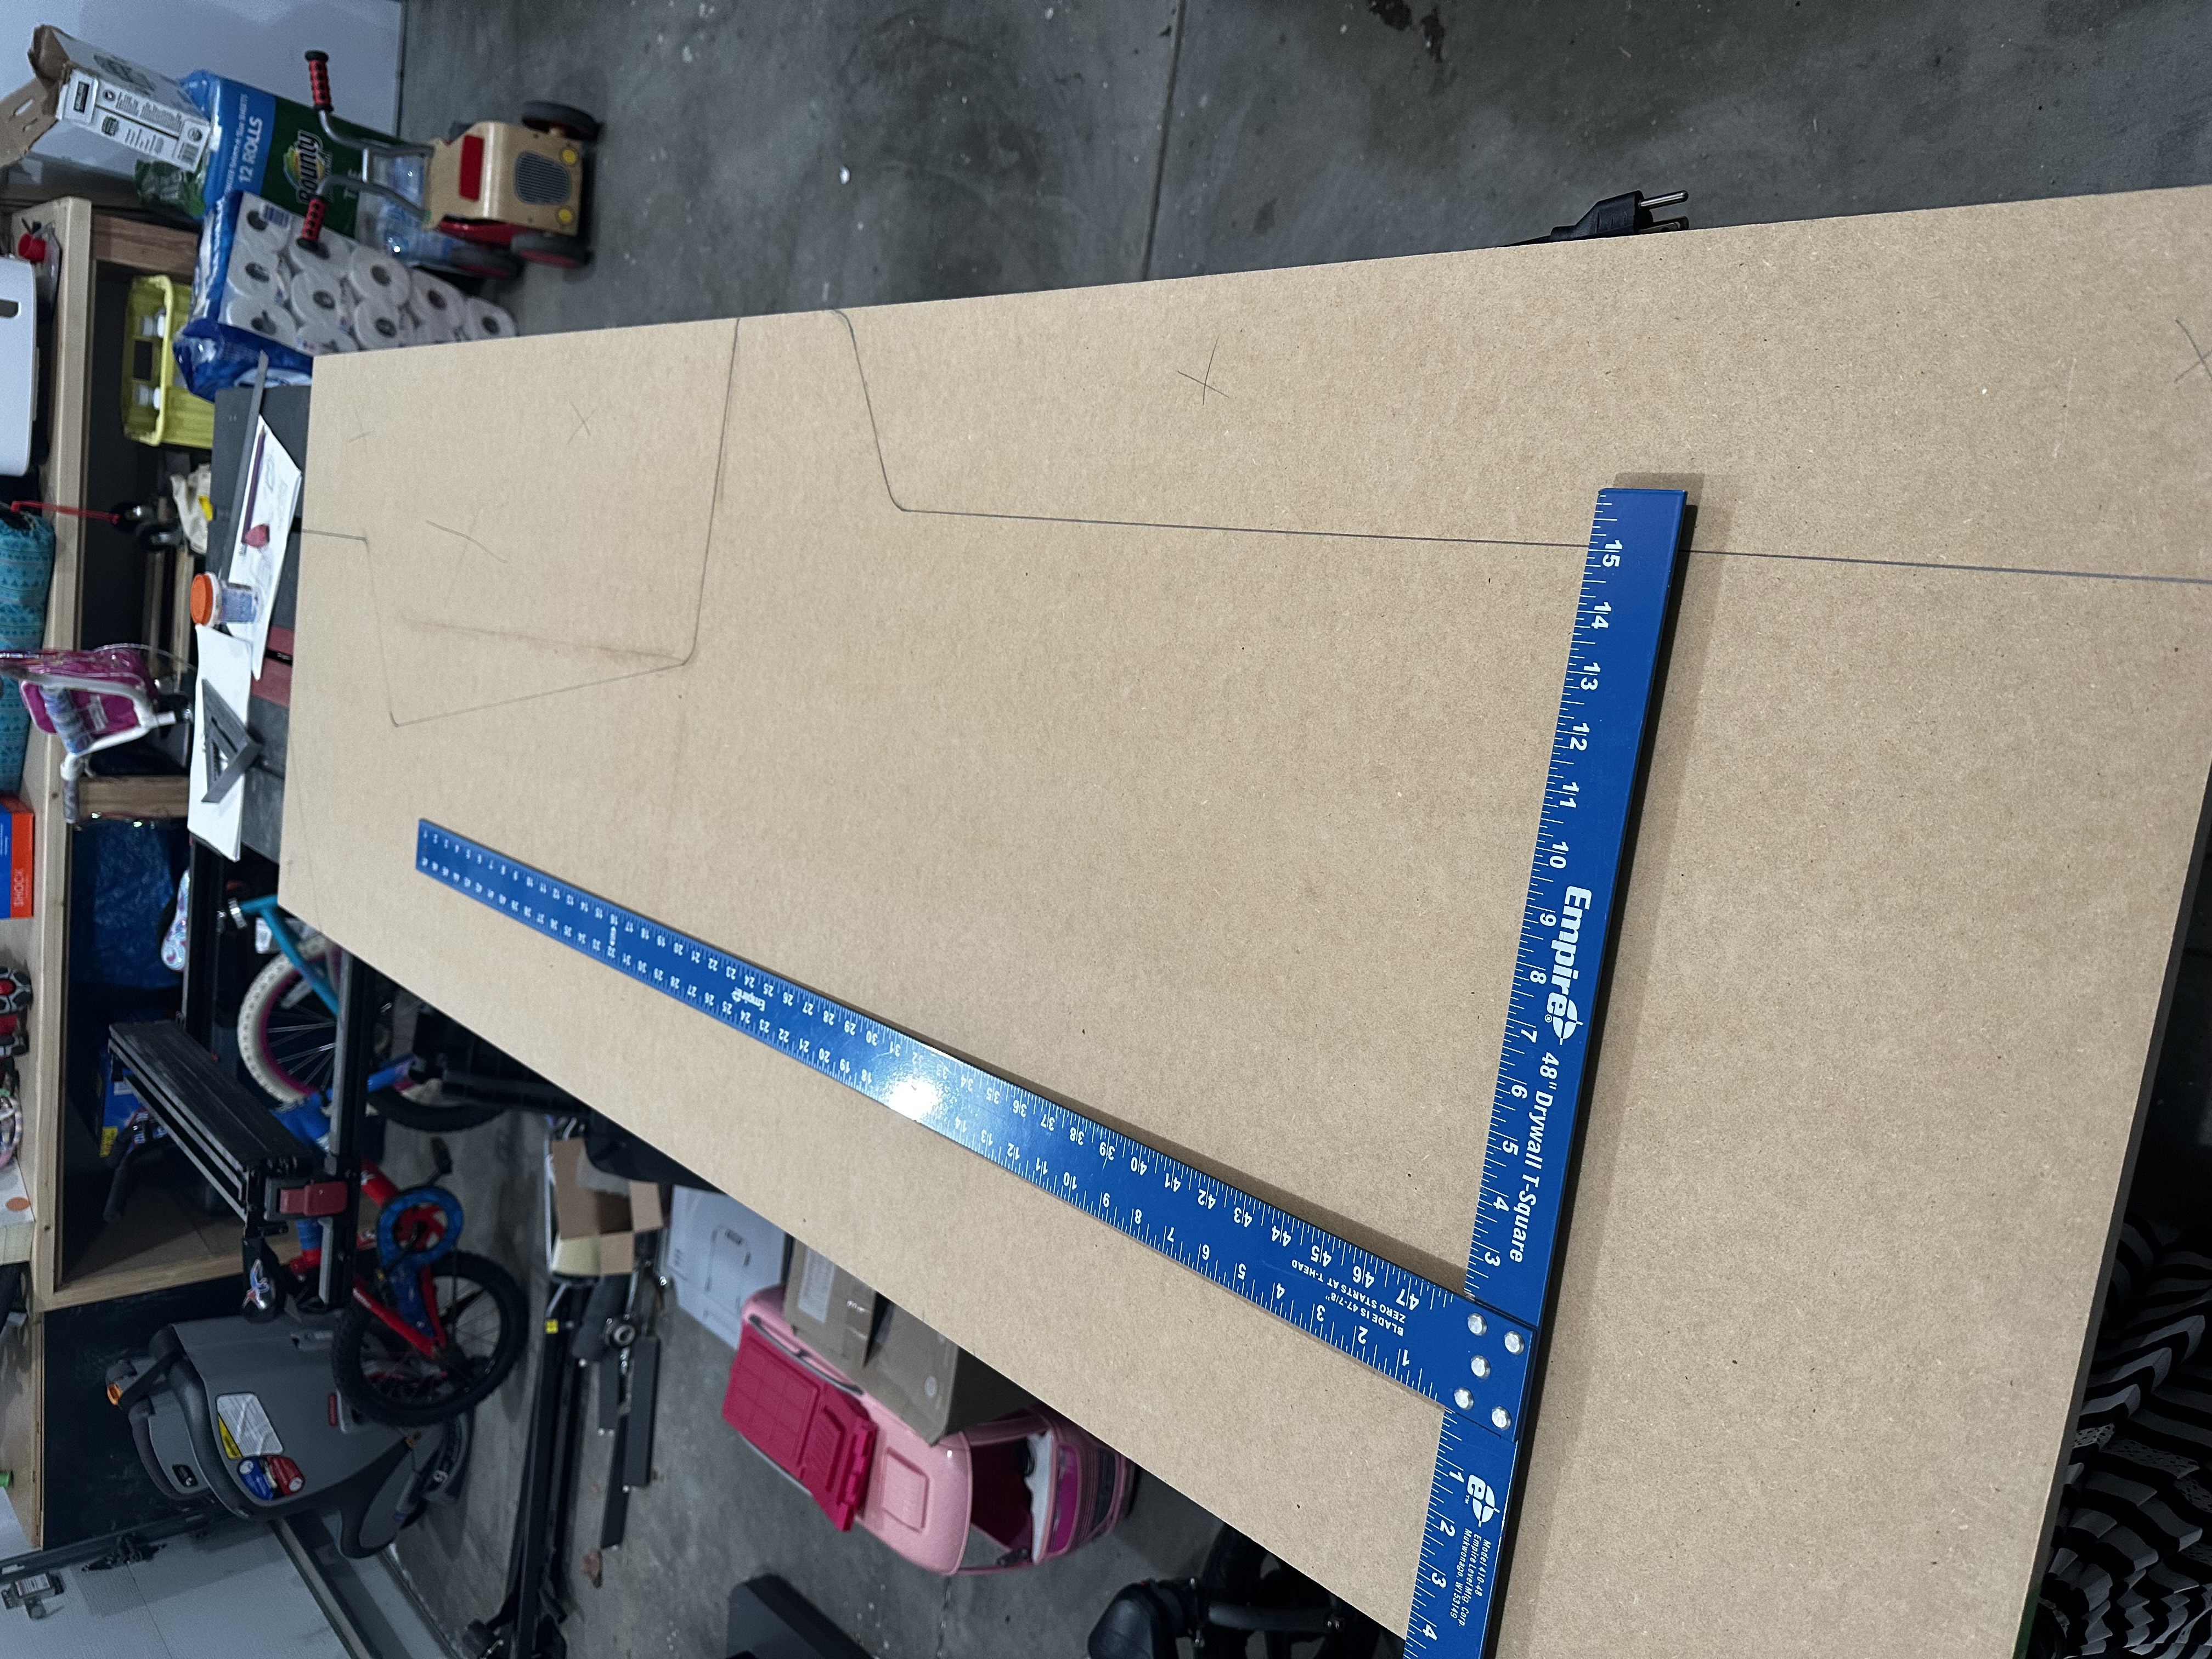
The sides would made of 3/4" MDF and be attached to the base as part of the core structure of the cabinet. I cut two sheets of MDF down to 8’ x 5’ rectangles and started sketching a shape on one of them. Once I was happy with that shape, I cut it out with circular and jig saws, clamped it to the second rectangle of MDF and traced the outline to repeat the process before clamping them together again and sanding them to match perfectly. Once that was done I carefully routed a channel for the iconic arcade cabinet t-moulding and the sides were fabricated!
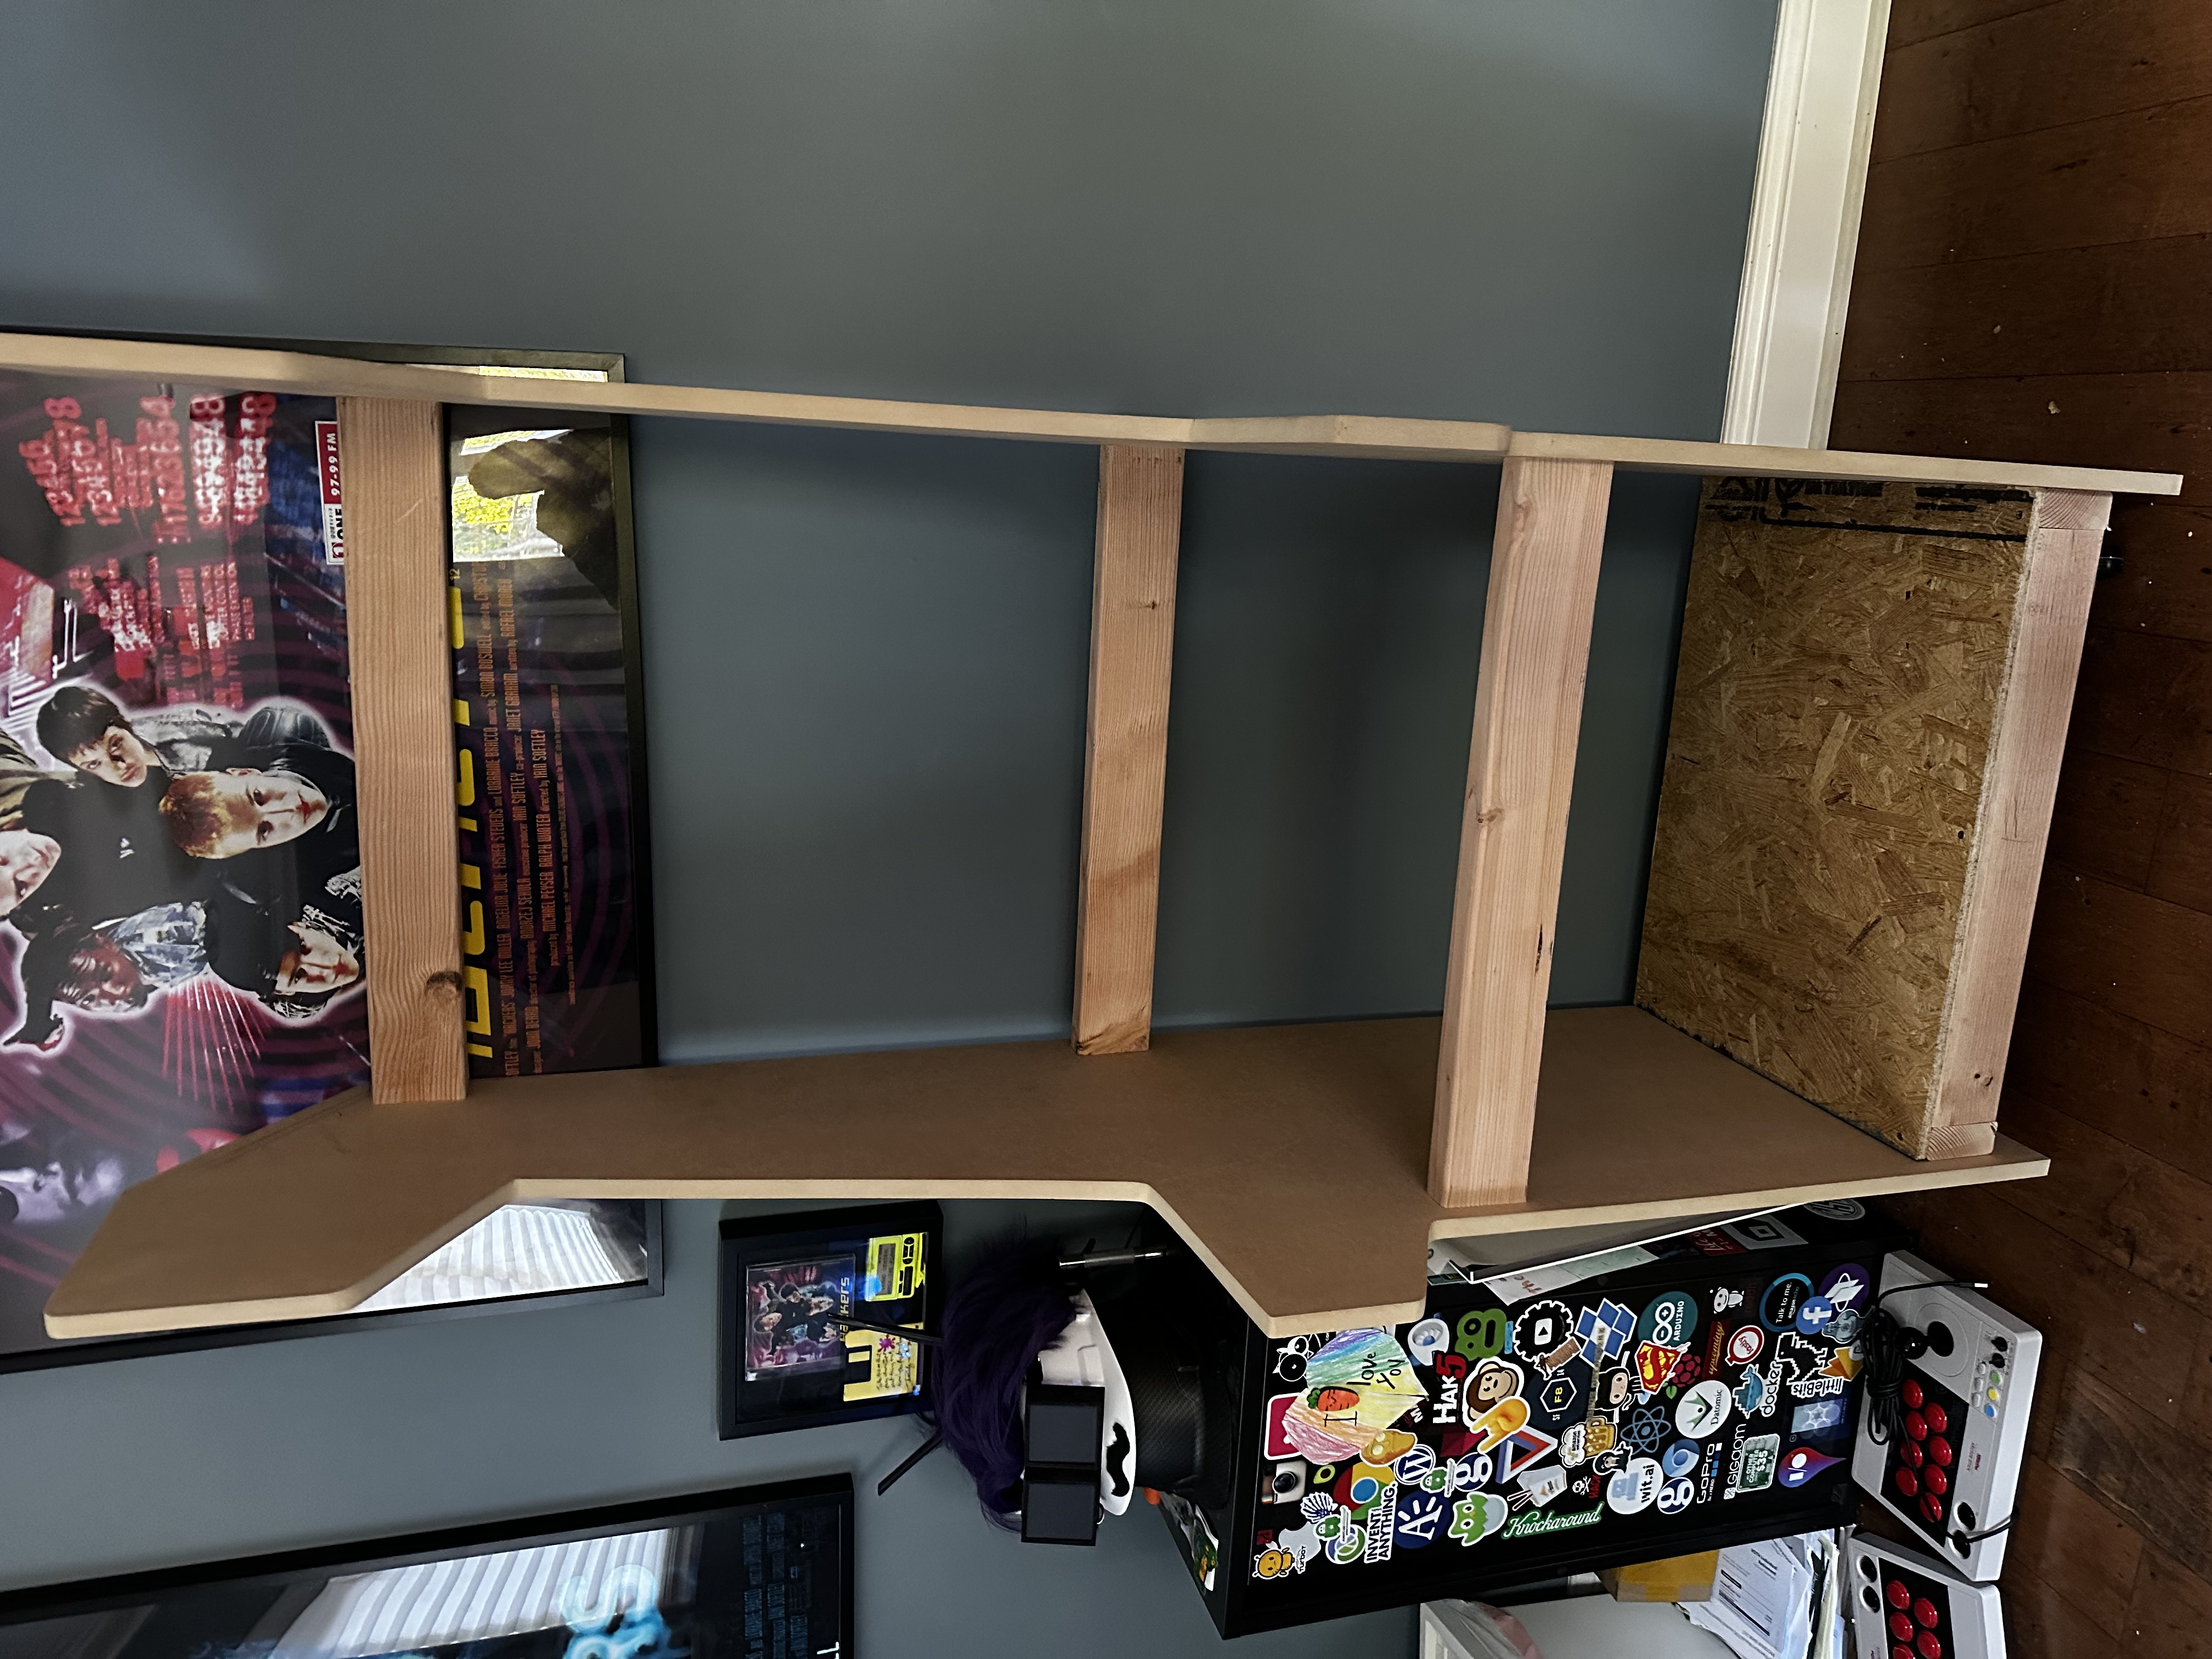
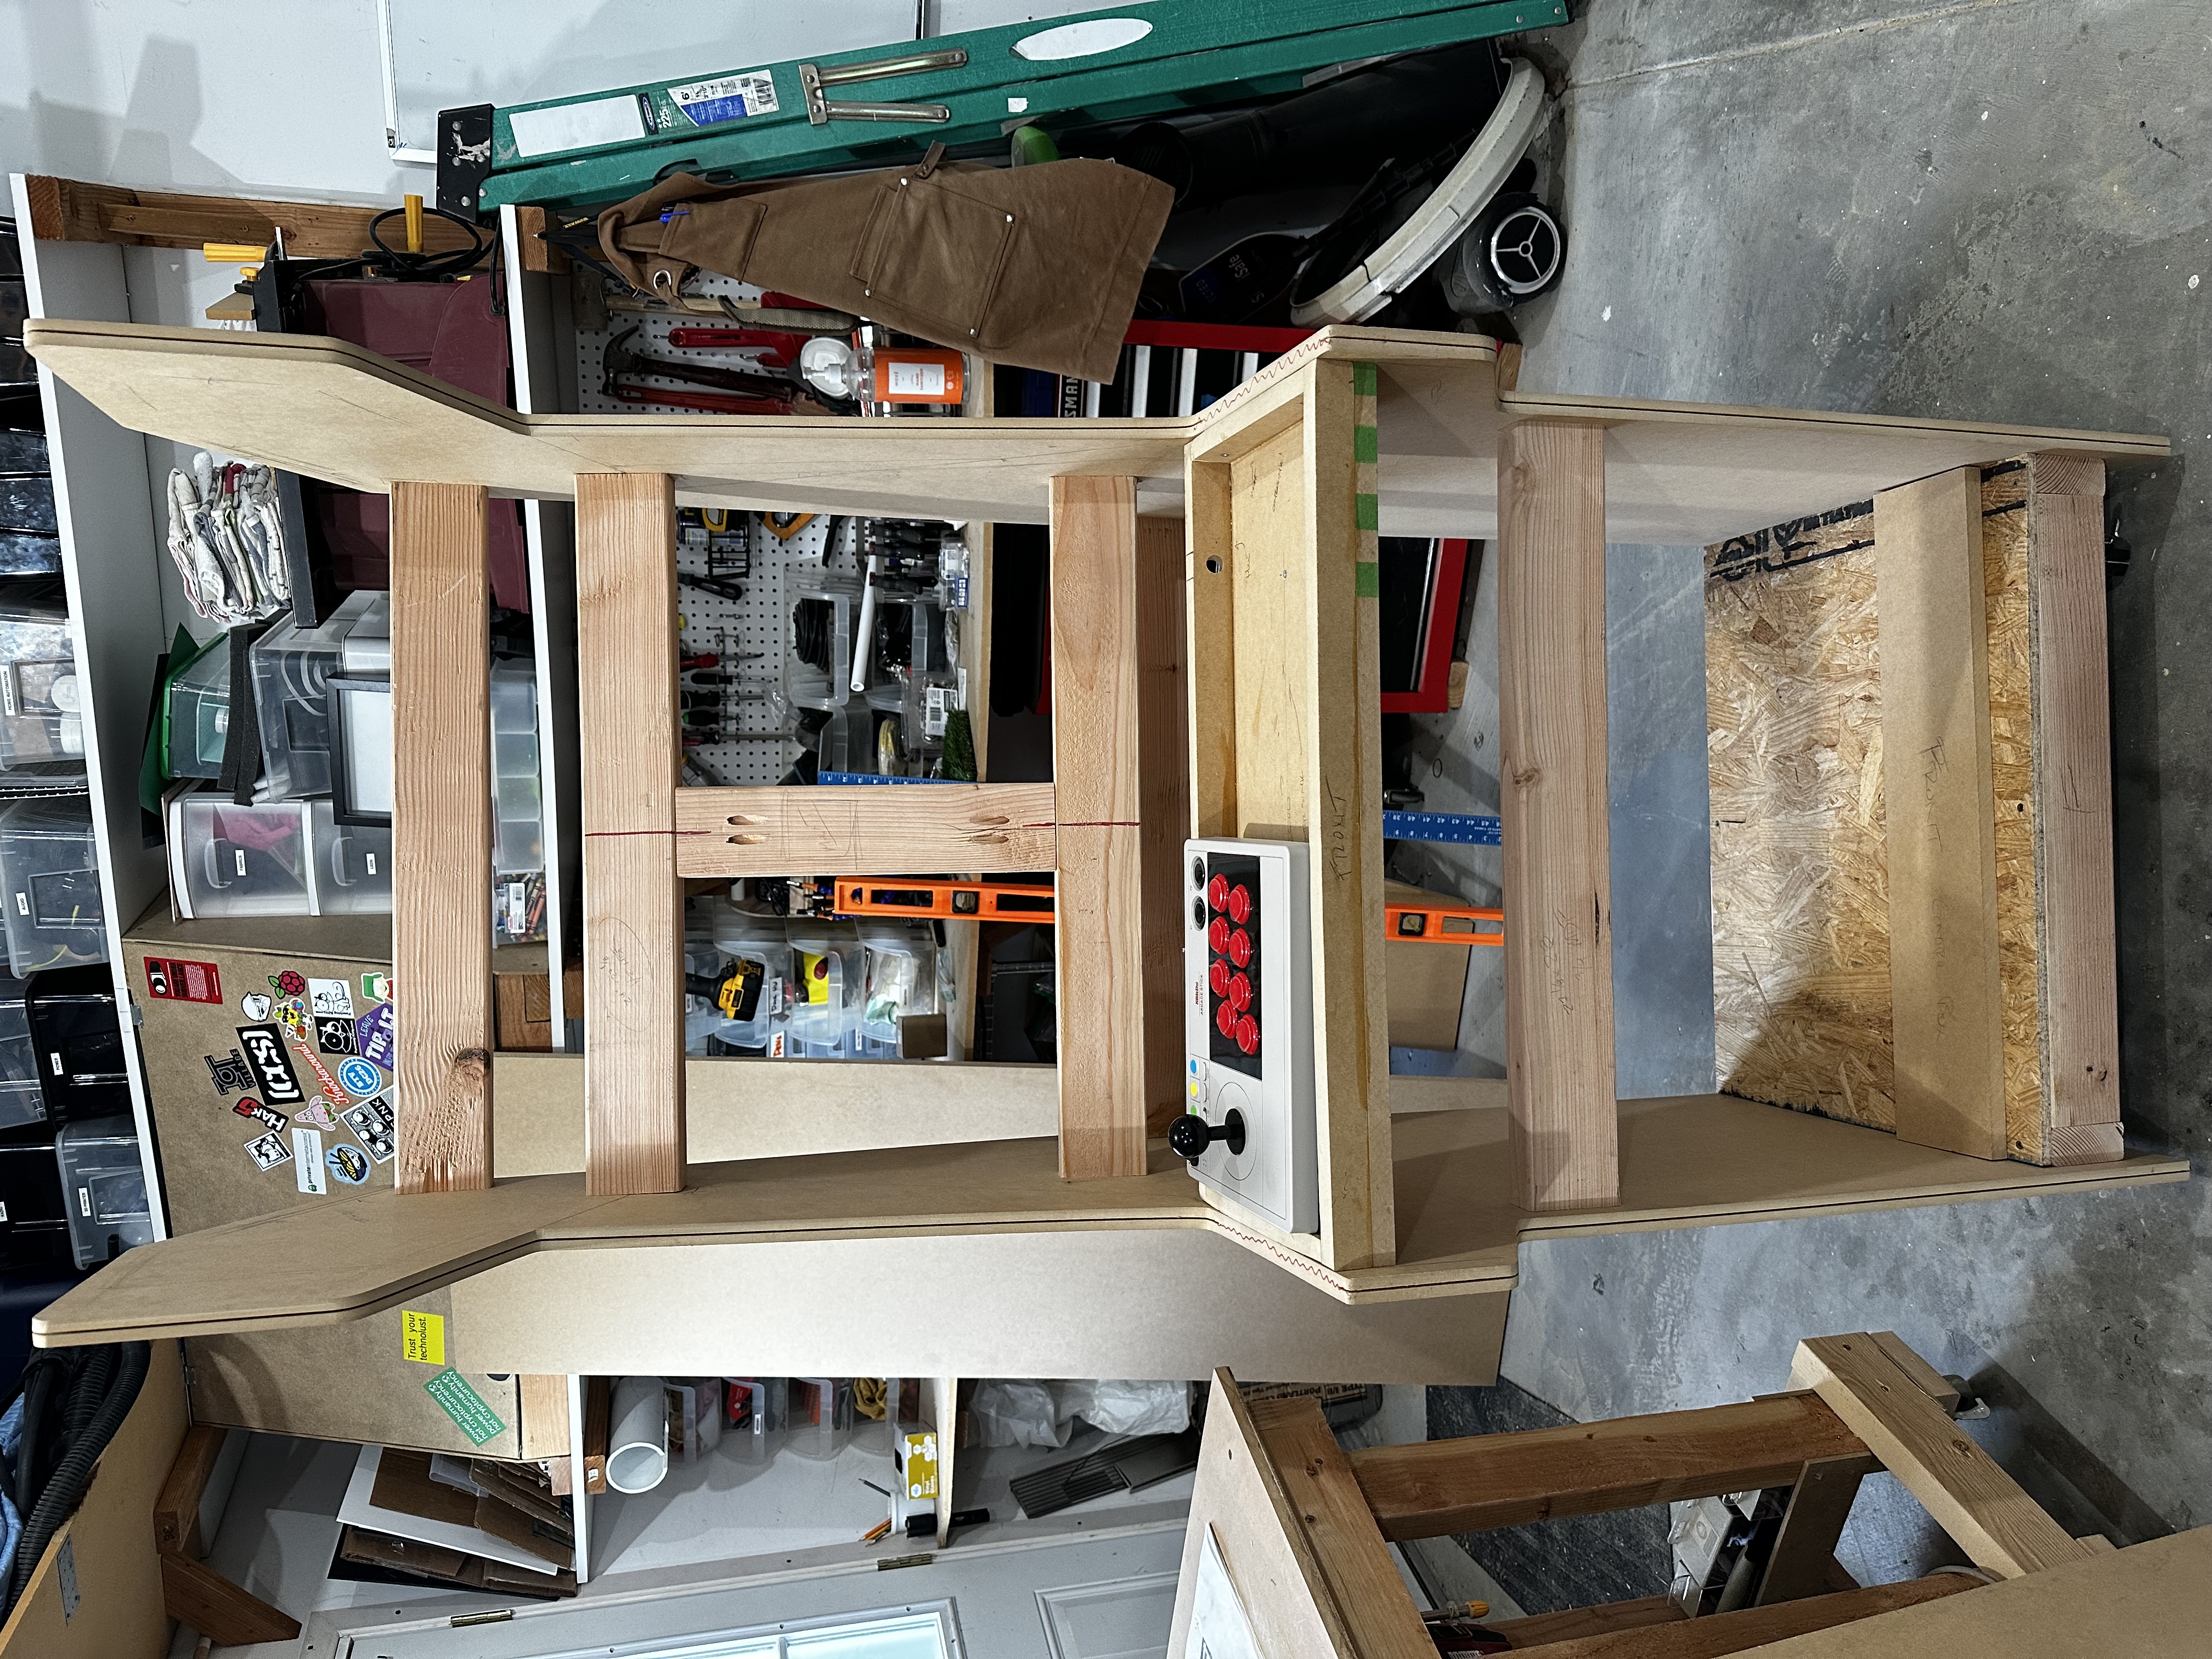
Once I had the sides cut, I attached them to the base and used 2x4s to give the structure rigidity and as mounting points for the control box and external panels. A quick test fit in the house proved that I was on the right track.
At this point I needed to figure out: 1. The monitor mounting and 2. The controls.
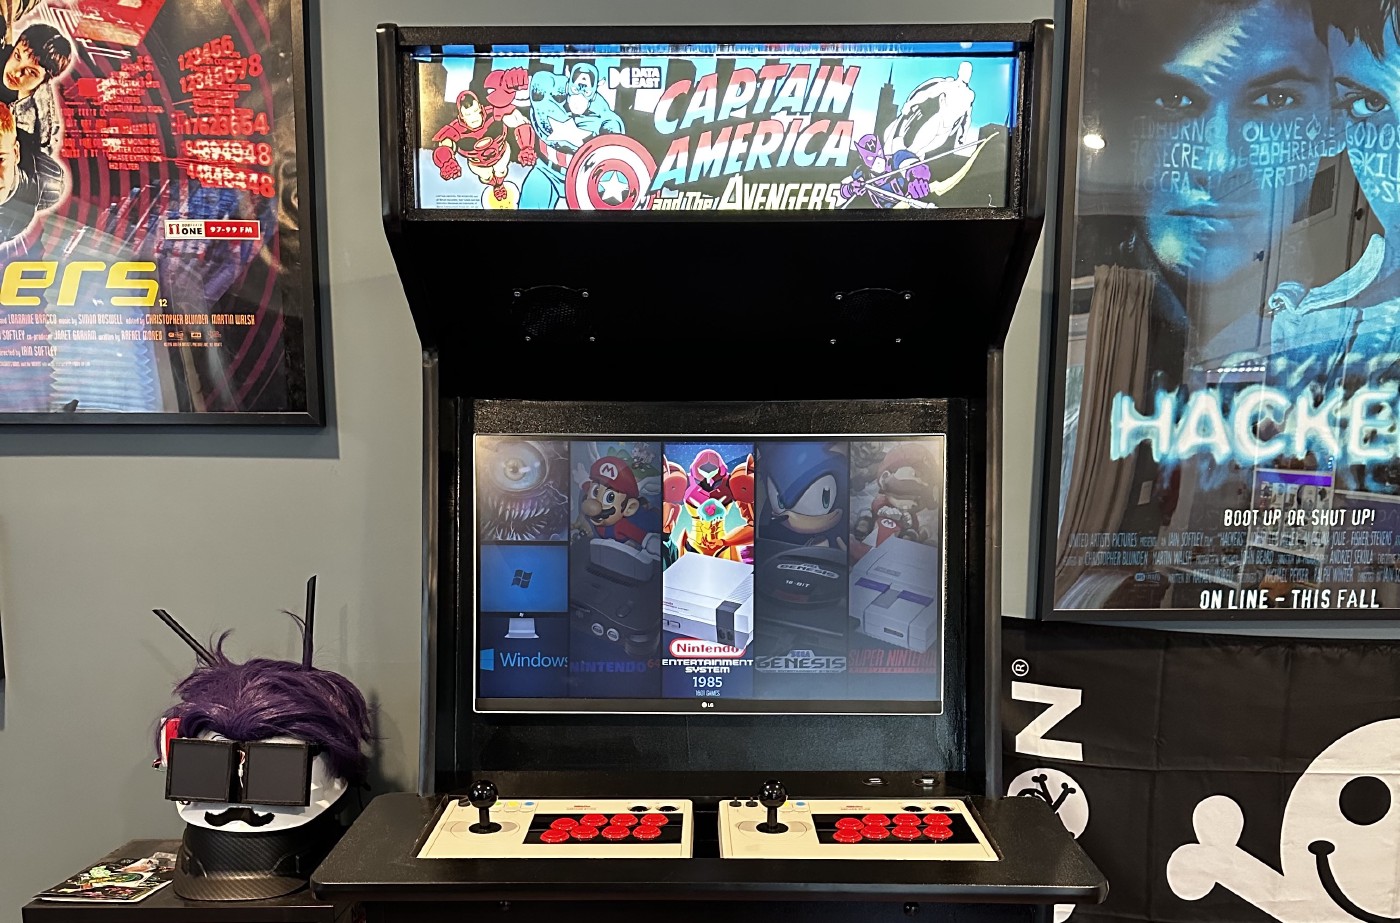
The monitor was pretty straight-forward as I knew I didn’t want to completely enclose a monitor but rather have it surface mounted so I could easily access it in favor of a classic CRT-like design that a lot of makers go with. I was fine with just embracing the modern LCD look, so I made a frame that would be added to the structure with the plan that MDF would sit on that of that and the monitor would be mounted to both, similar to how a mentor is hung on a wall.
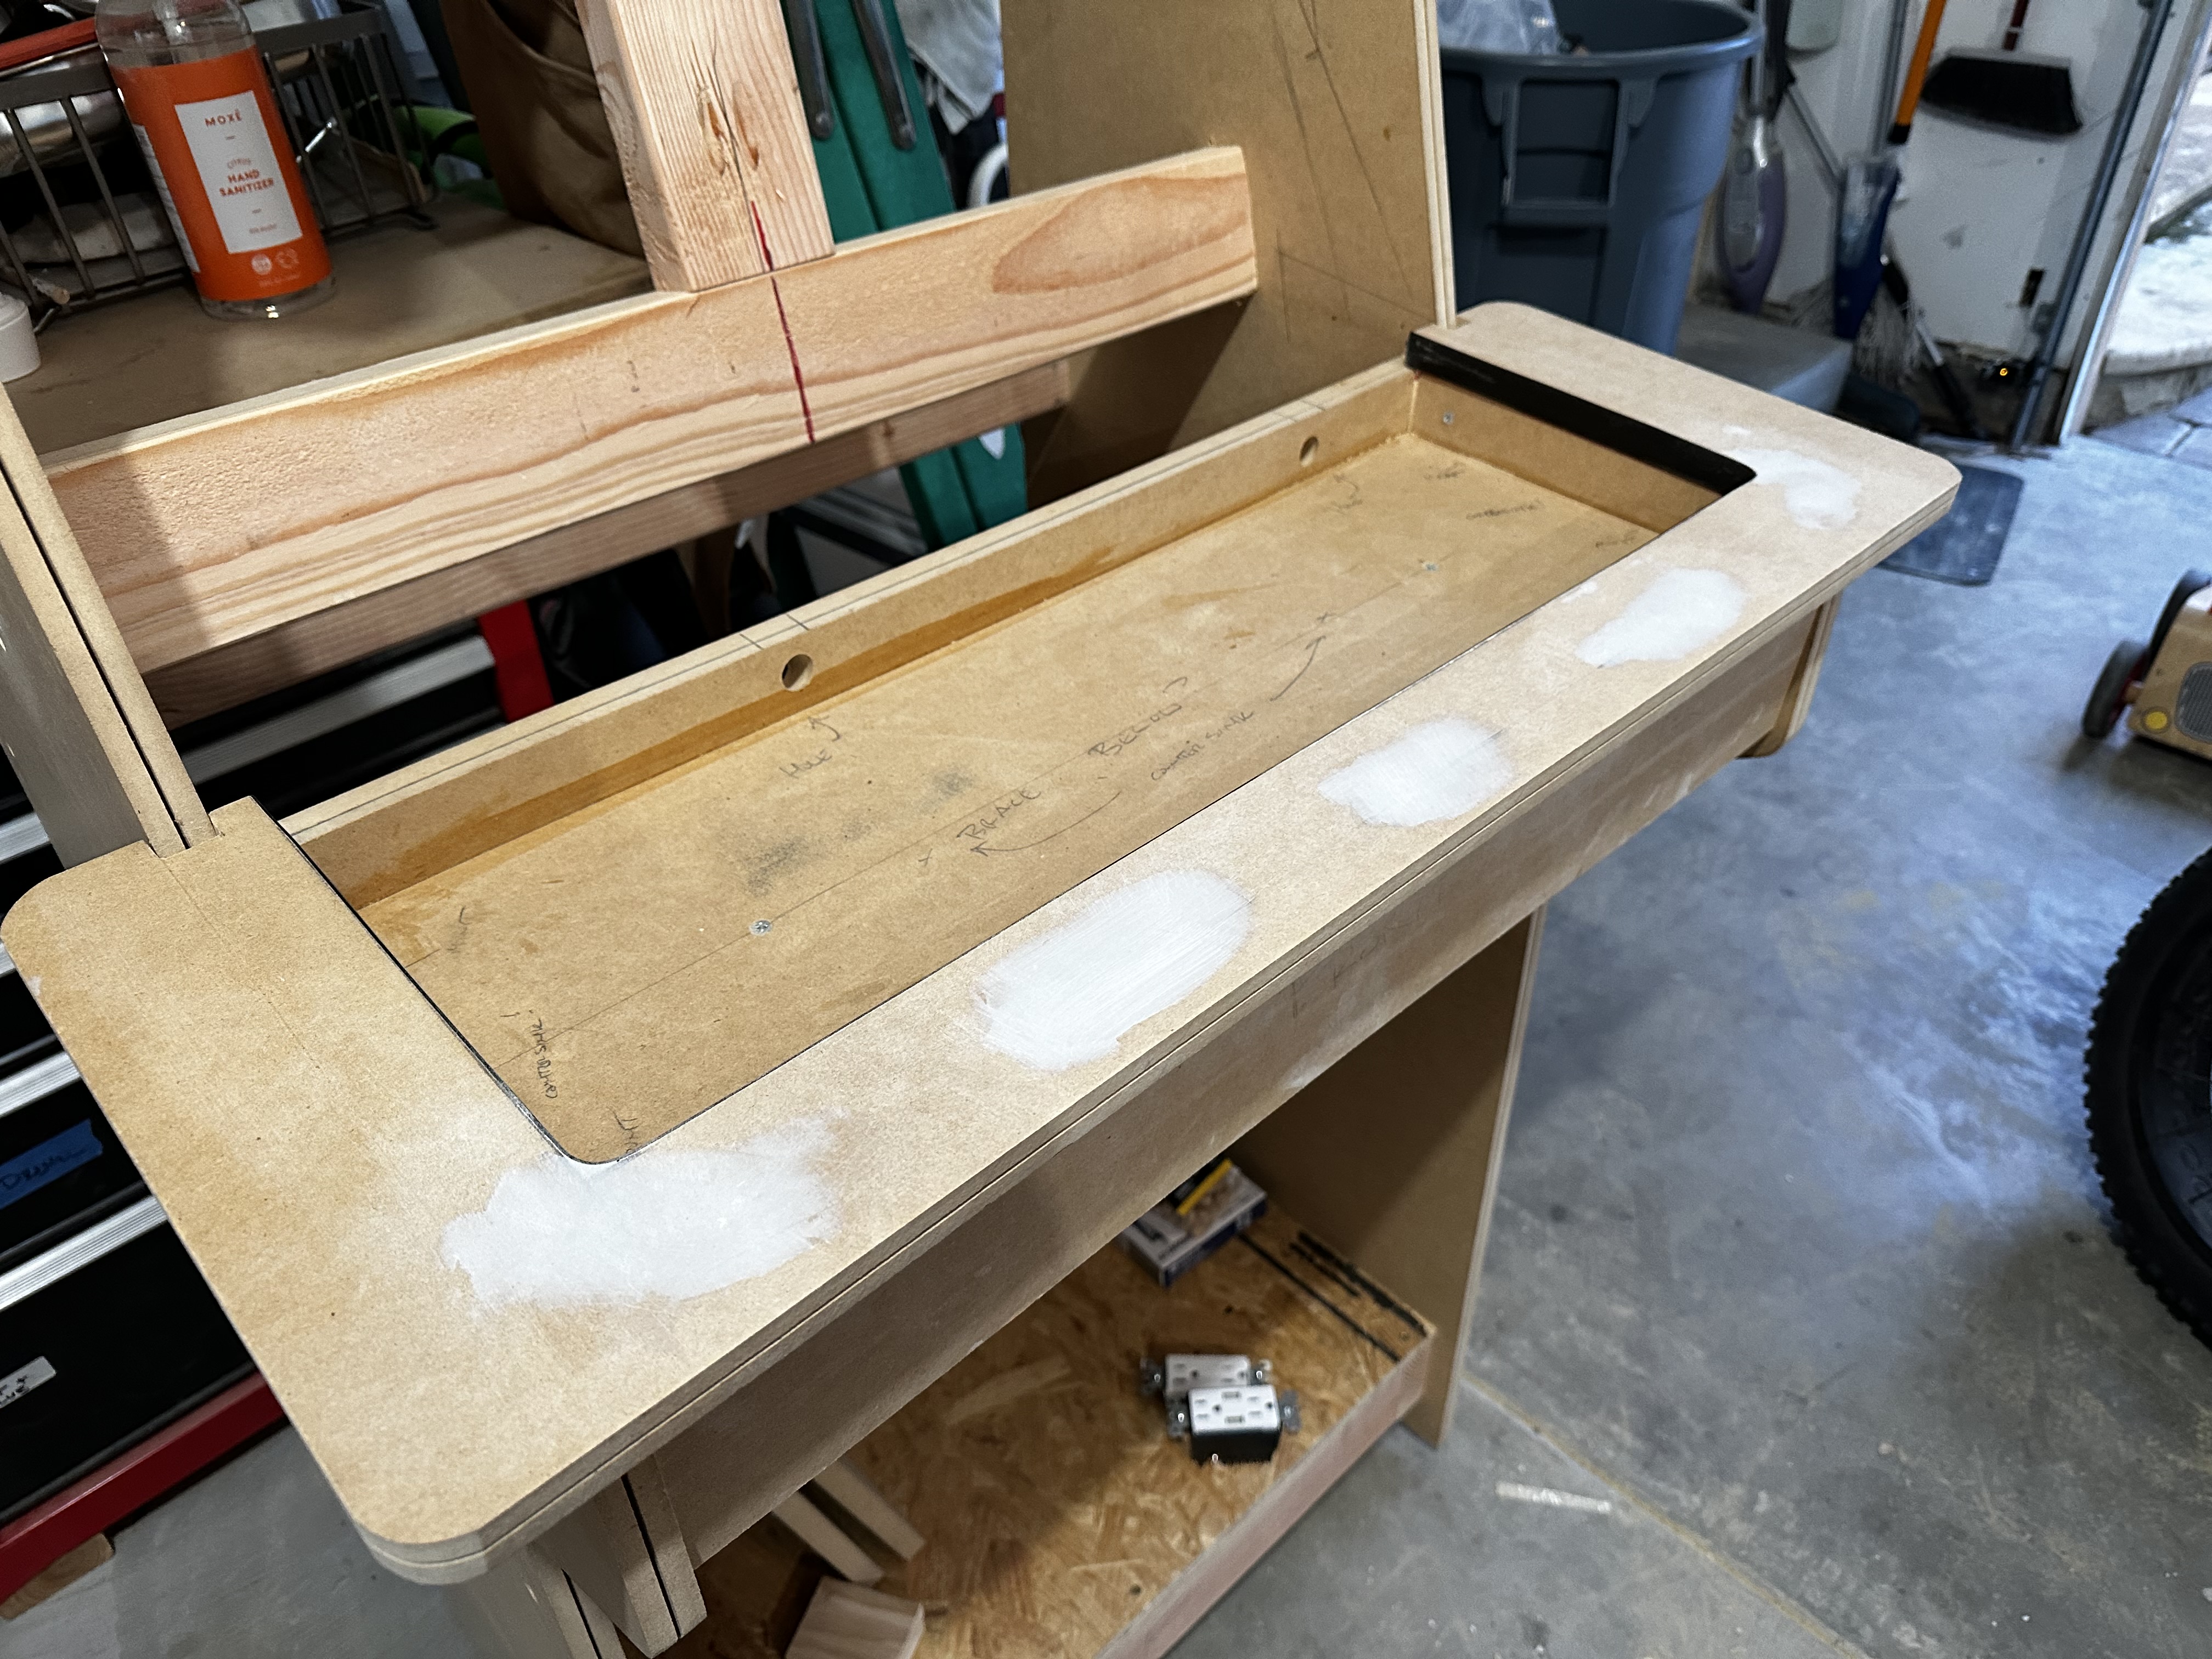
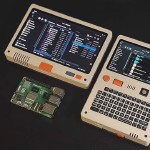
The control box took some thinking and that thinking caused me to bail on my original plans, but I’m glad I did. Originally my goal was the make the controls myself with MDF and mount a board, buttons, and a sticks for completely custom control board…but then I learned about the 8BitDo Arcade Stick. I loved the retro look, I liked the button setup, and I liked that I could take them out of the cabinet and use them for our Switch. I didn’t think I could build a better control setup than this, so I threw my buttons in a box and bought two of the 8BitDo Arcade Sticks. Once they arrived I had to do some additional thinking and experimentation to figure out the best way to add them to the cabinet and make them comfortable to use. I went with a shallow box with a hole for the cable and then a U-shaped “counter top” that would fit on the box to butt up against the Arcade Stick and give your arms a place to rest.
Honestly, I think it turned out great and I couldn’t be happier with how the controls feel and work.
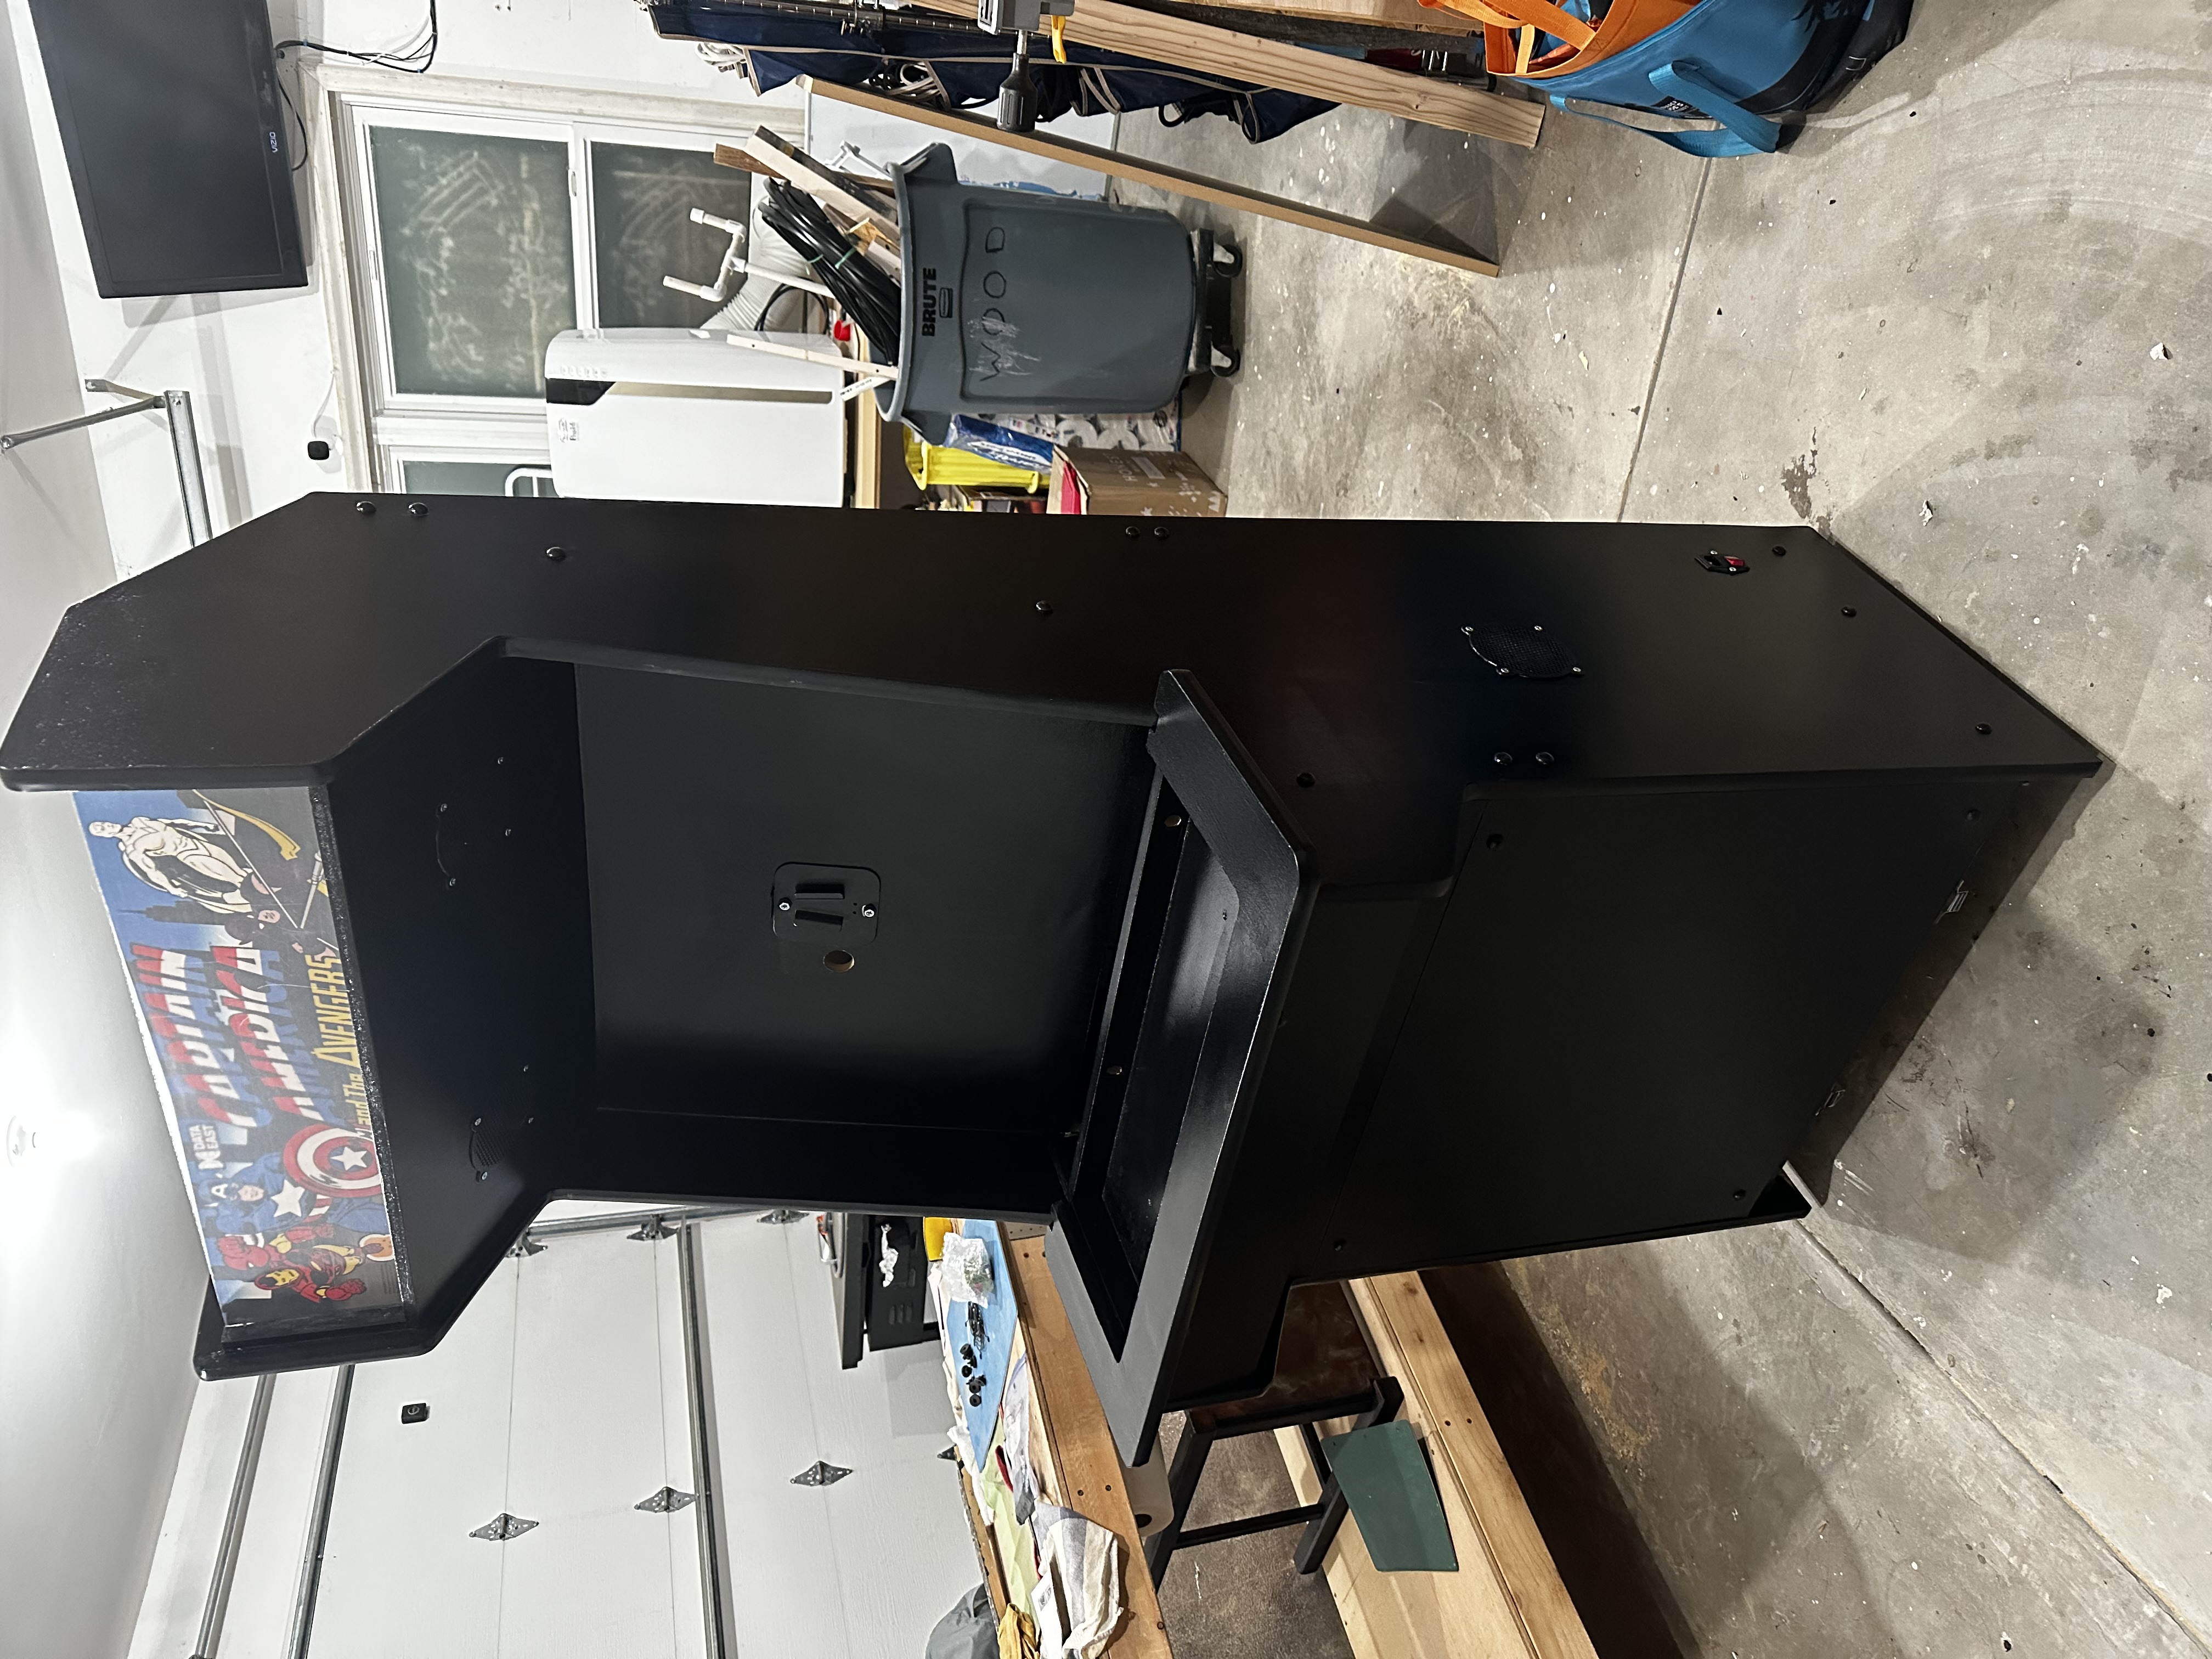
Now it was finally time to deal with pieces that cover the front, back, and the marquee, which was the last bit that required some thinking, engineering…especially since I wasn’t sure what I wanted to do up there!
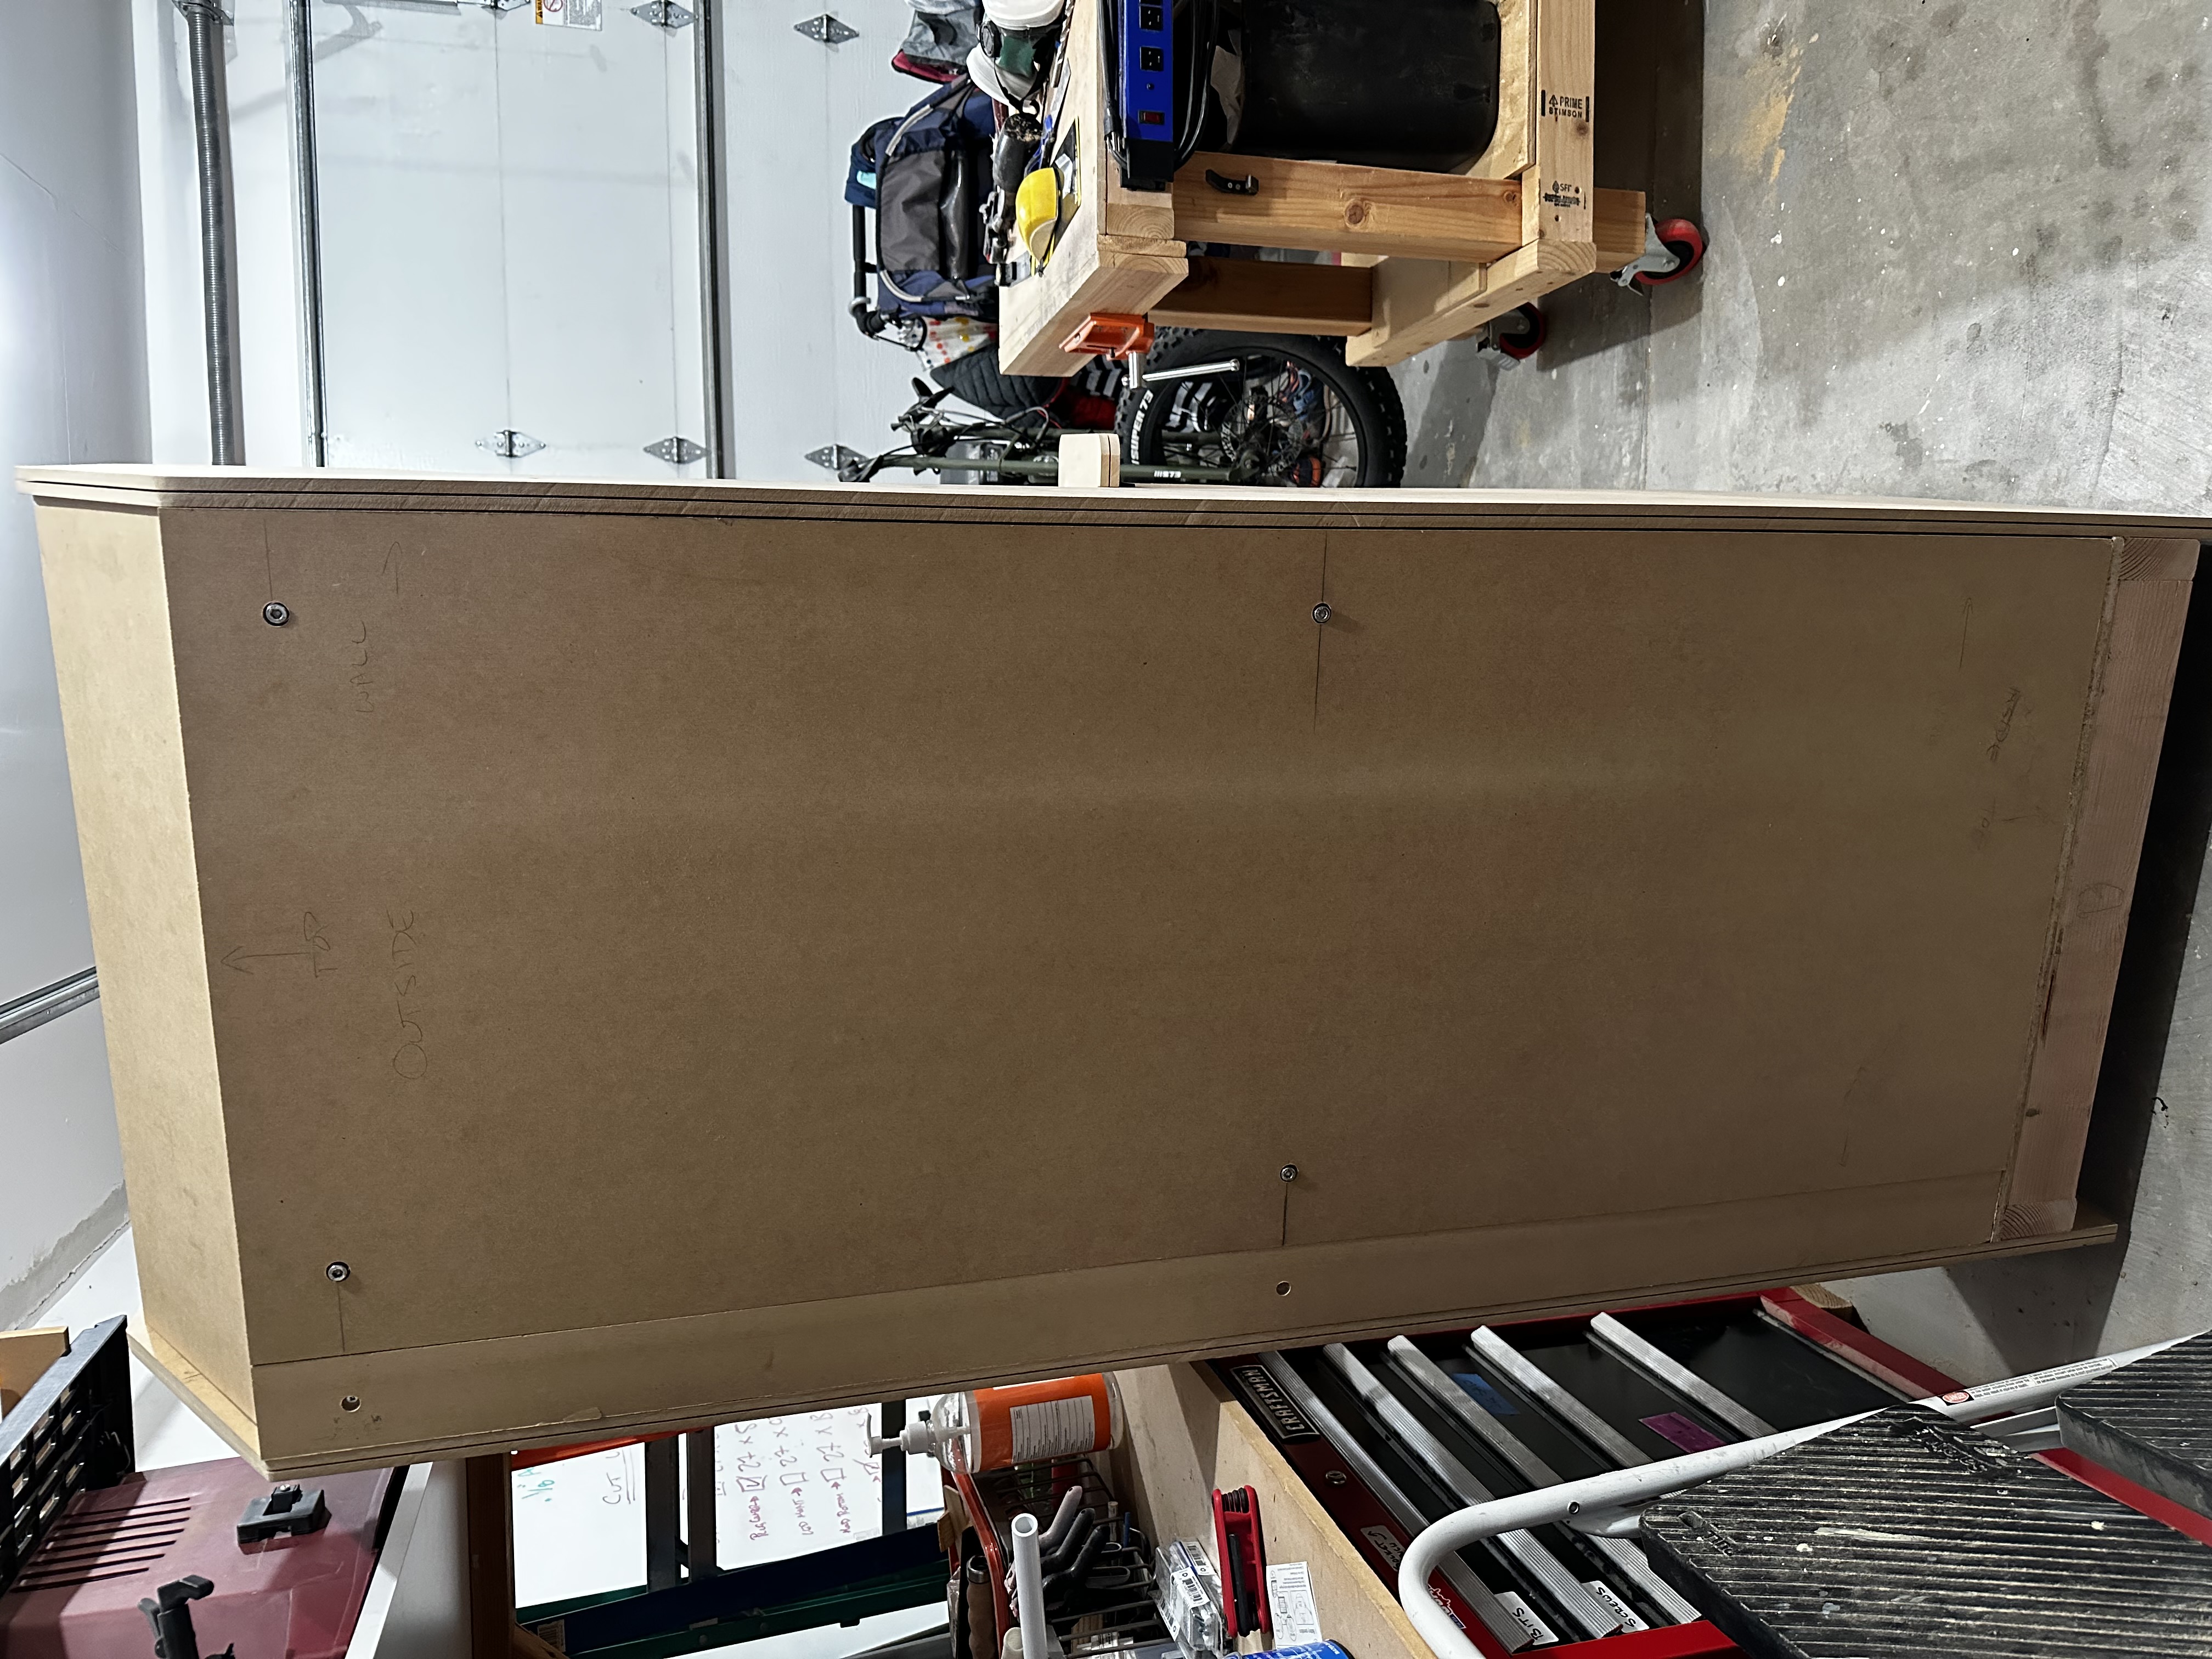
The back was the easiest part as I used a large piece of MDF to cover the back almost entirely. I didn’t go with a hinged door as I thought it would be nicer to be able to remove the back entirely when I wanted to work on it. I used threaded inserts and larger machine screws so that I can take that piece on and off as needed easily. A hinge would be easier than having to use an Allen wrench to remove the back, but once it’s taken off and out of the way it is much easier to work on.
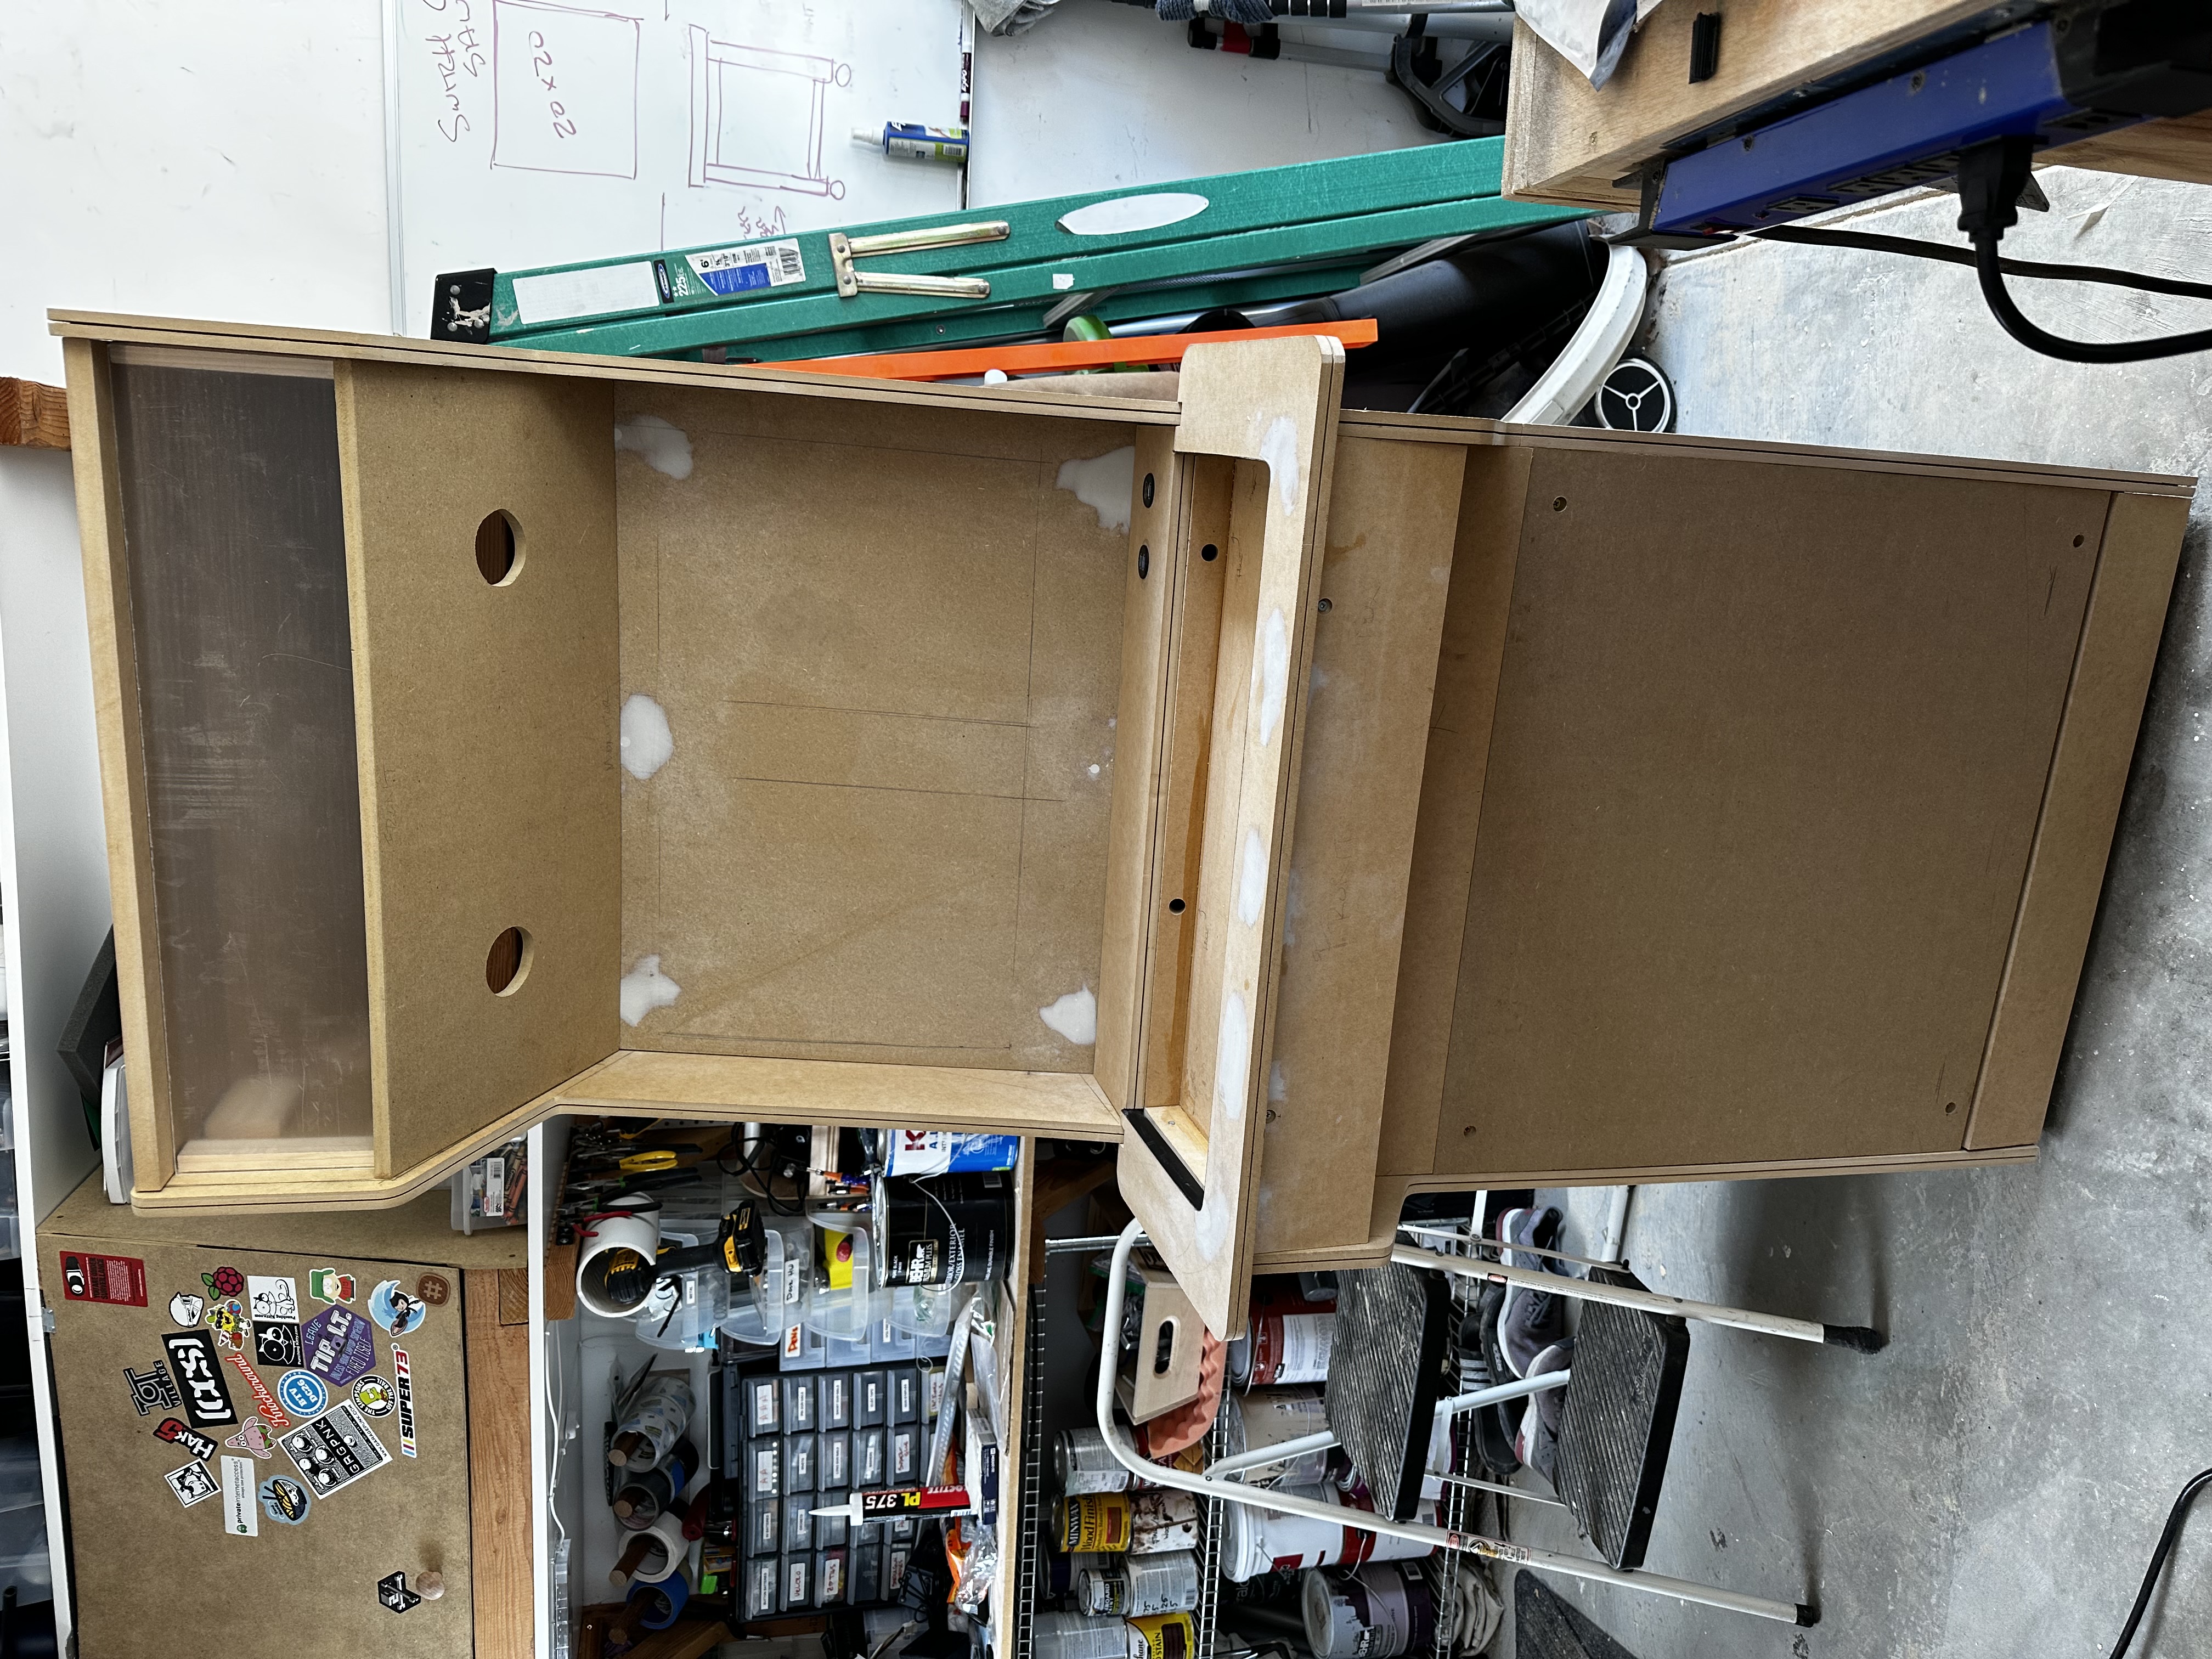
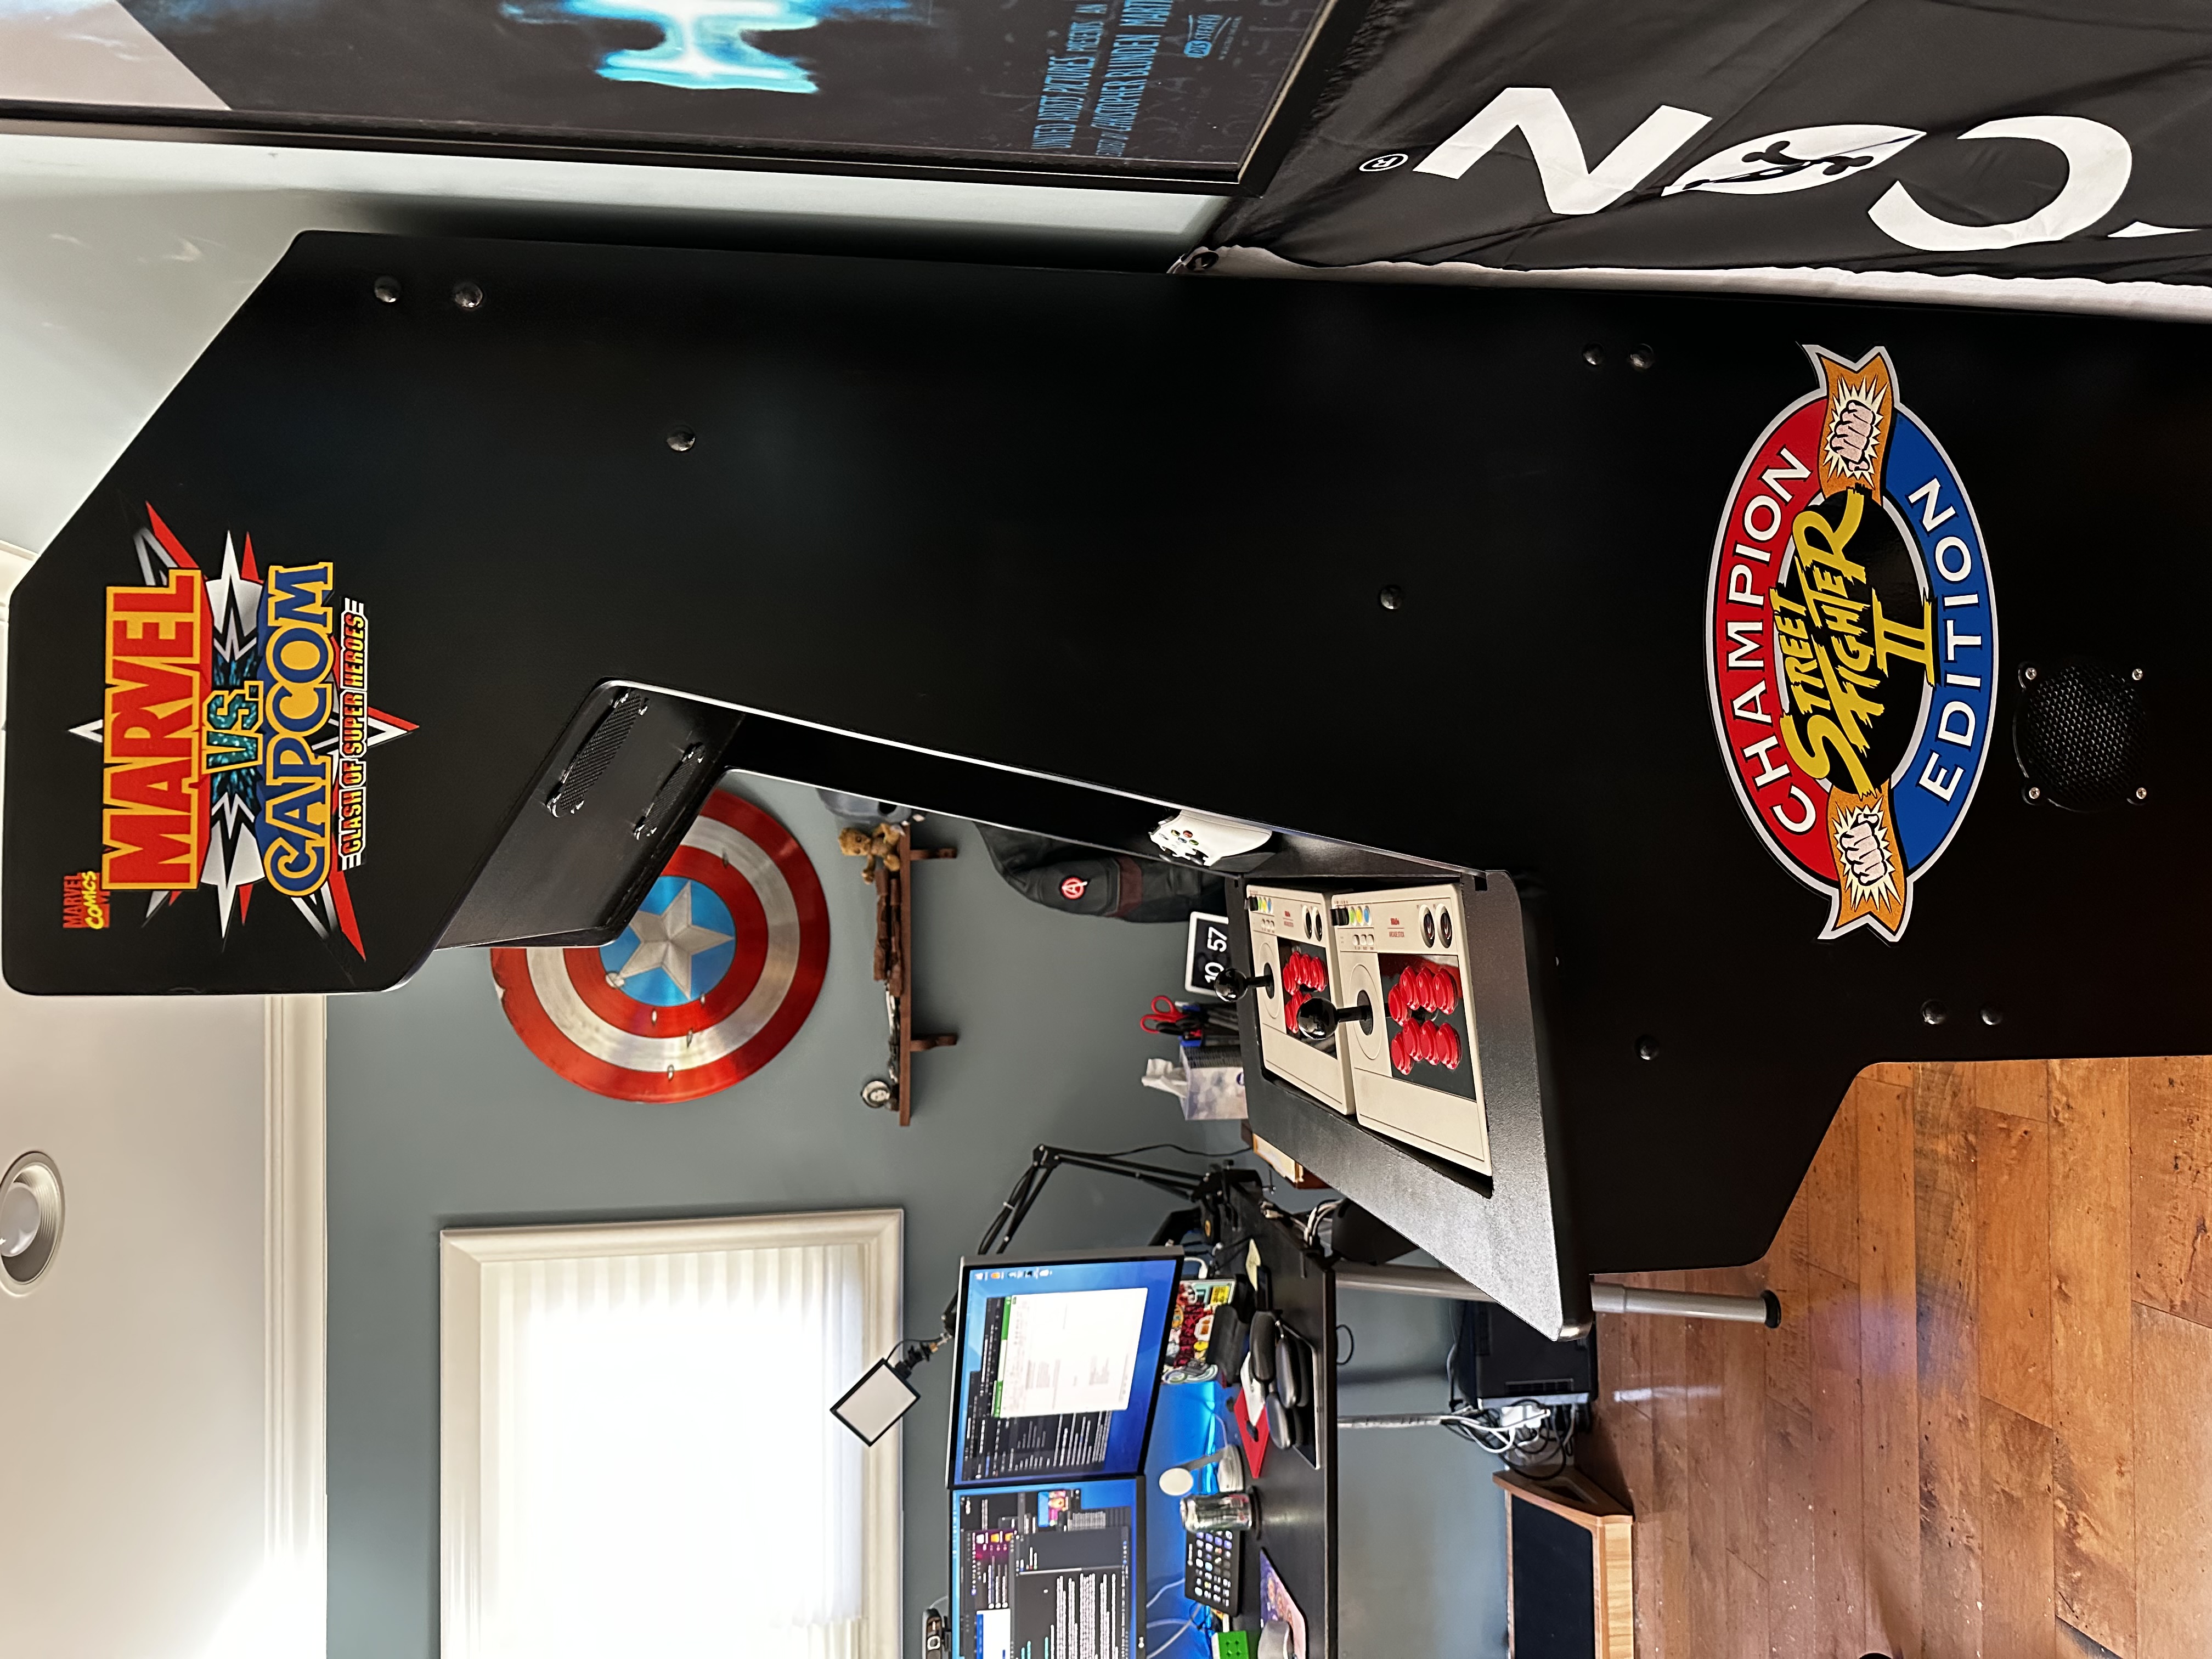
The other bits were just cut down and screwed in with caps to hide the screws (but still allow me to disassemble in the future if I needed to). The marquee required a lot of staring and thinking and thinking and staring, but in the end I decided to go with a classic marquee by mounting light and then constructing the hood to have a slot to slide artwork and a sheet of plexiglass together in the front. The speakers were also mounted up there with a little shelf for them to sit on and holes cut through the MDF pointed down on the player.
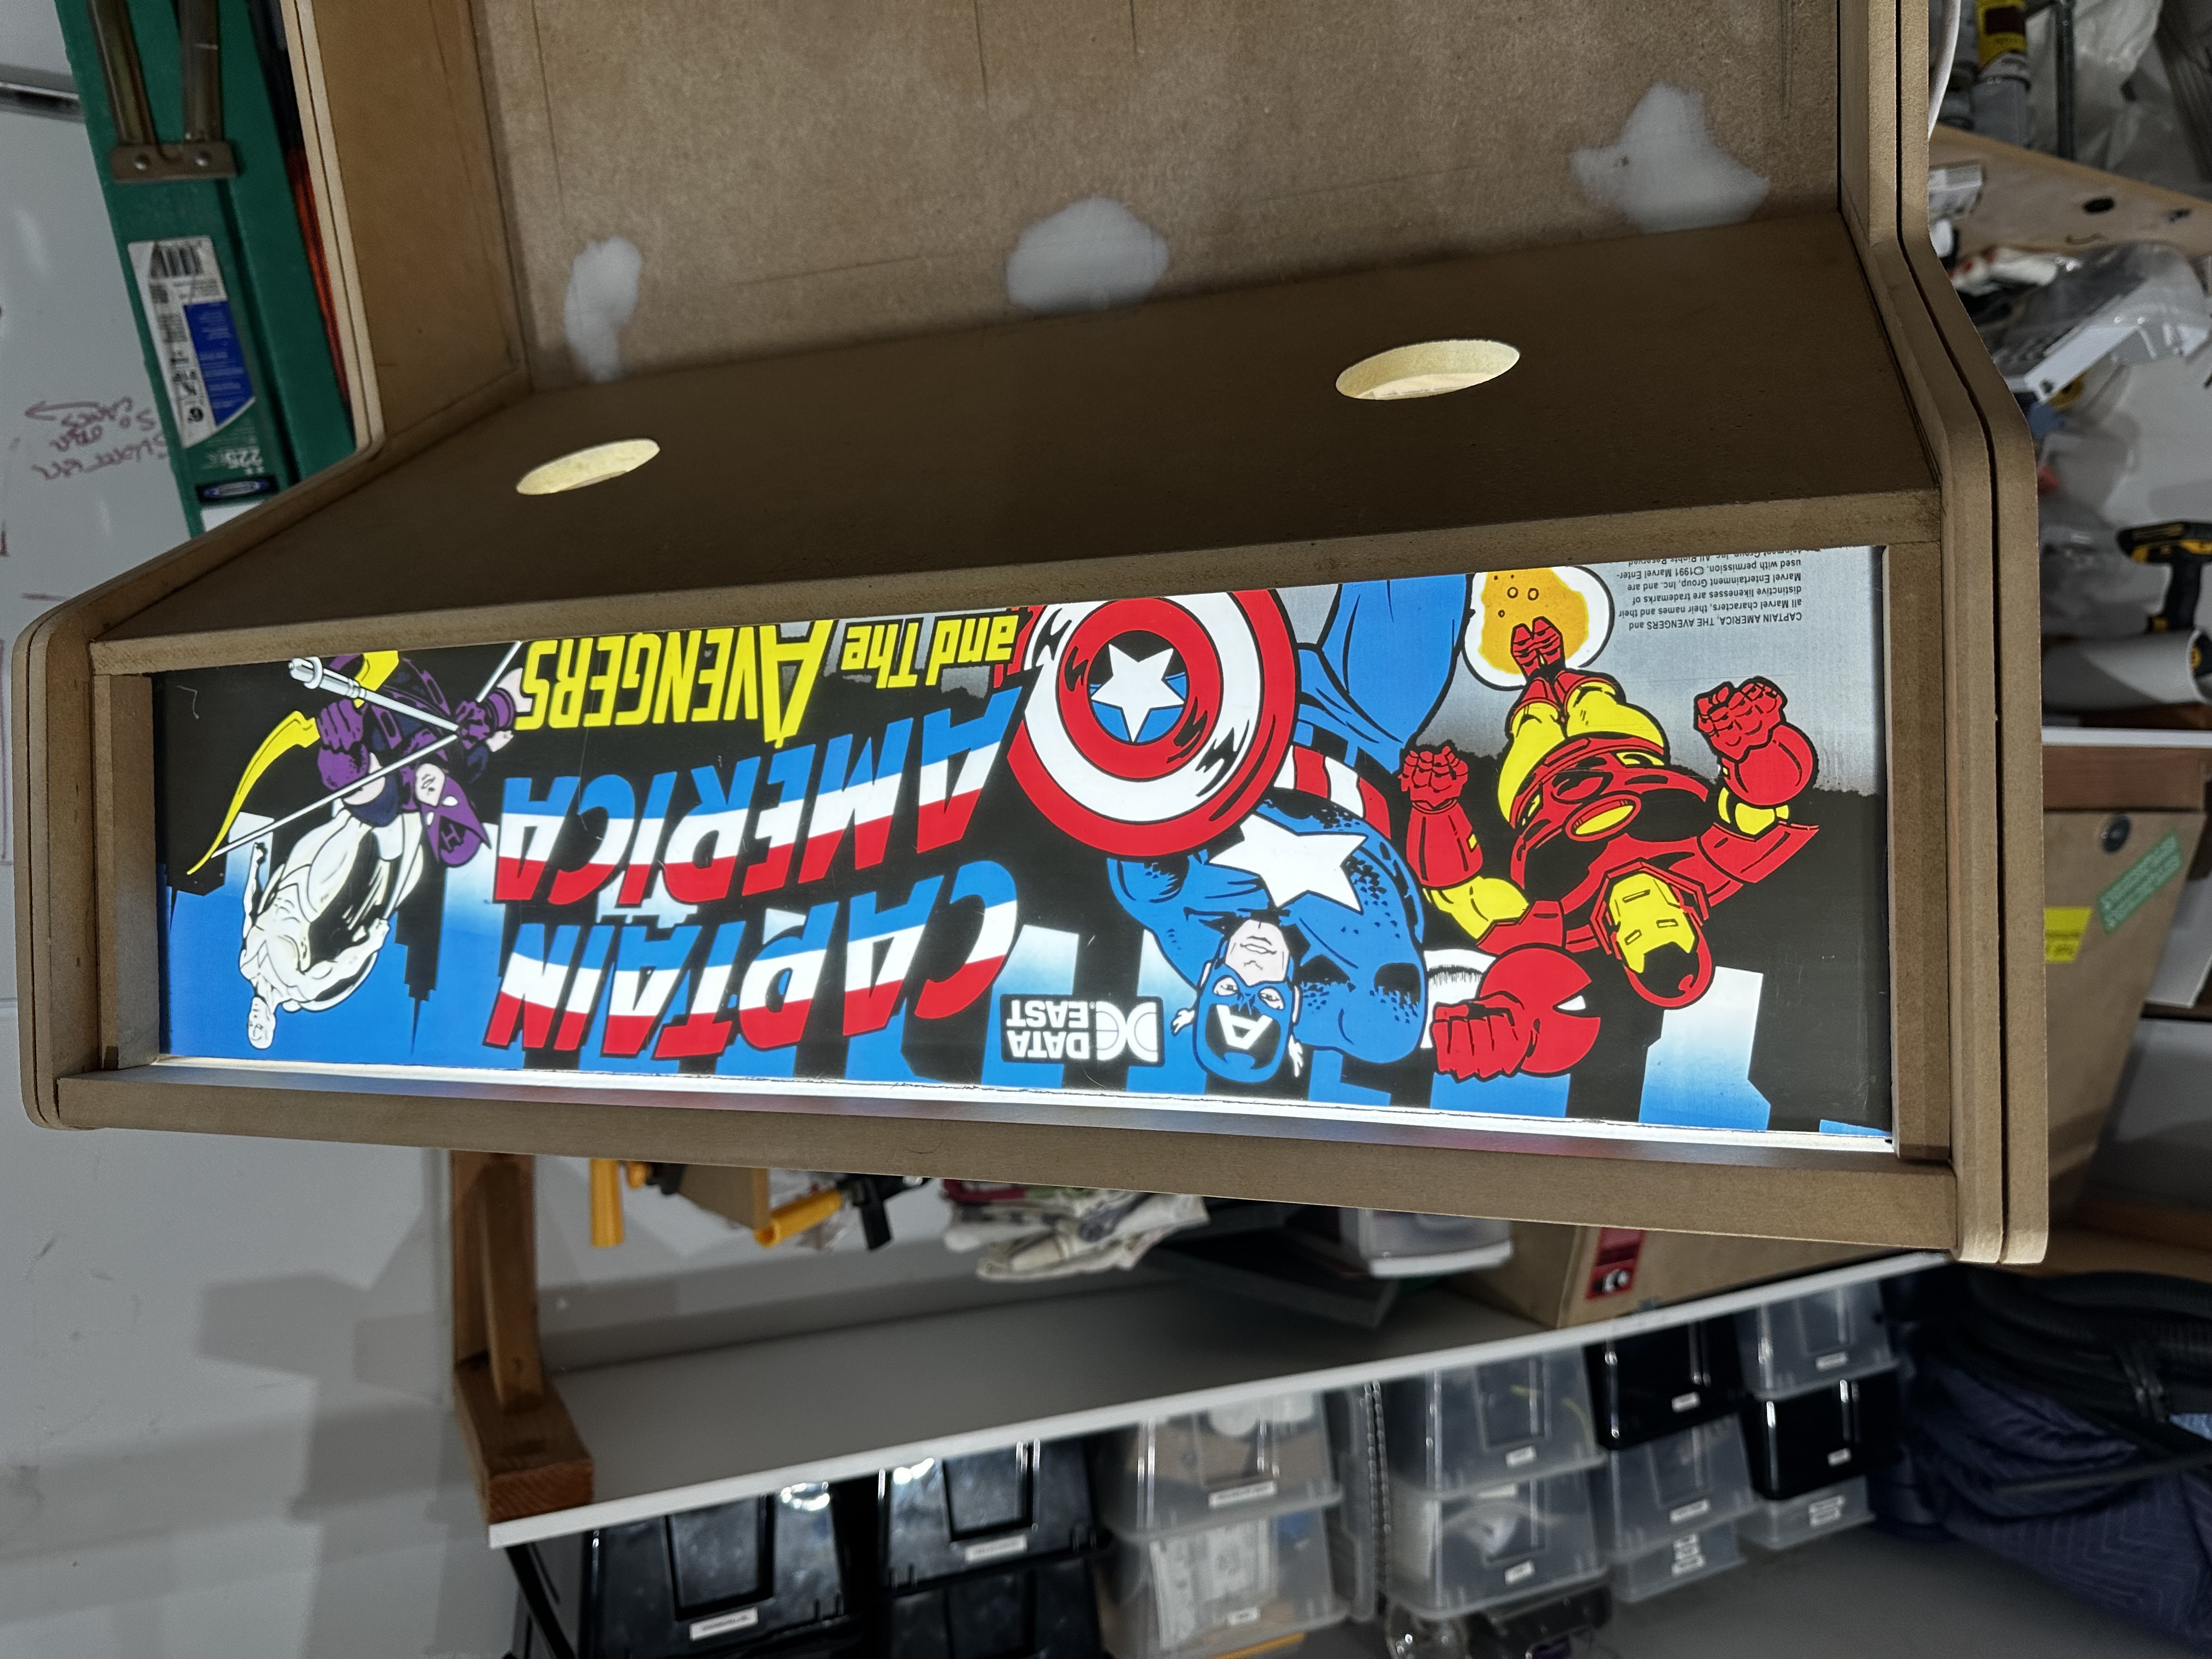
I found a place on Etsy that creates replicas of the old arcade marquees and as luck would have it the size of the marquee that I completely randomly ended up at was the exact same size as an old set of arcade cabinets! I still don’t know how I lucked in to that, but I bought this great Captain America and the Avengers replica and wired up a test light. It made for a happy day seeing this lit up so nicely!
Next was paint. So much paint. Well, primer first because I was using MDF, and then paint. It turned out great, but I did manage to warp my big back MDF panel because it was in the sun a bit too much while drying. Luckily, I was a able to straighten in back out after a night on my workbench with a ton of stuff piled on top of it.
After the paint was done, it was down to the final installation. Specifically the monitor mount, the electrical system, the t-moulding, and the speaker/fan grills.
The monitor mount was a slim cheap option found on Amazon and just screwed in. The electrical system was a little more involved as I wanted it to be robust with a removable power cable. There is a port with a main power switch on the bottom right side, and inside, there is a 2-gang box with four plugs wired up to another two plugs at the top of the cabinet. That allowed me enough plugs to deal with the monitor, computer, battery backup, extra fans, speakers, and the marquee light. The t-moulding was tapped in carefully in to the routed slots on every exposed edge, and the speaker/fan grills were 3D printed and painted before being screwed in to place.
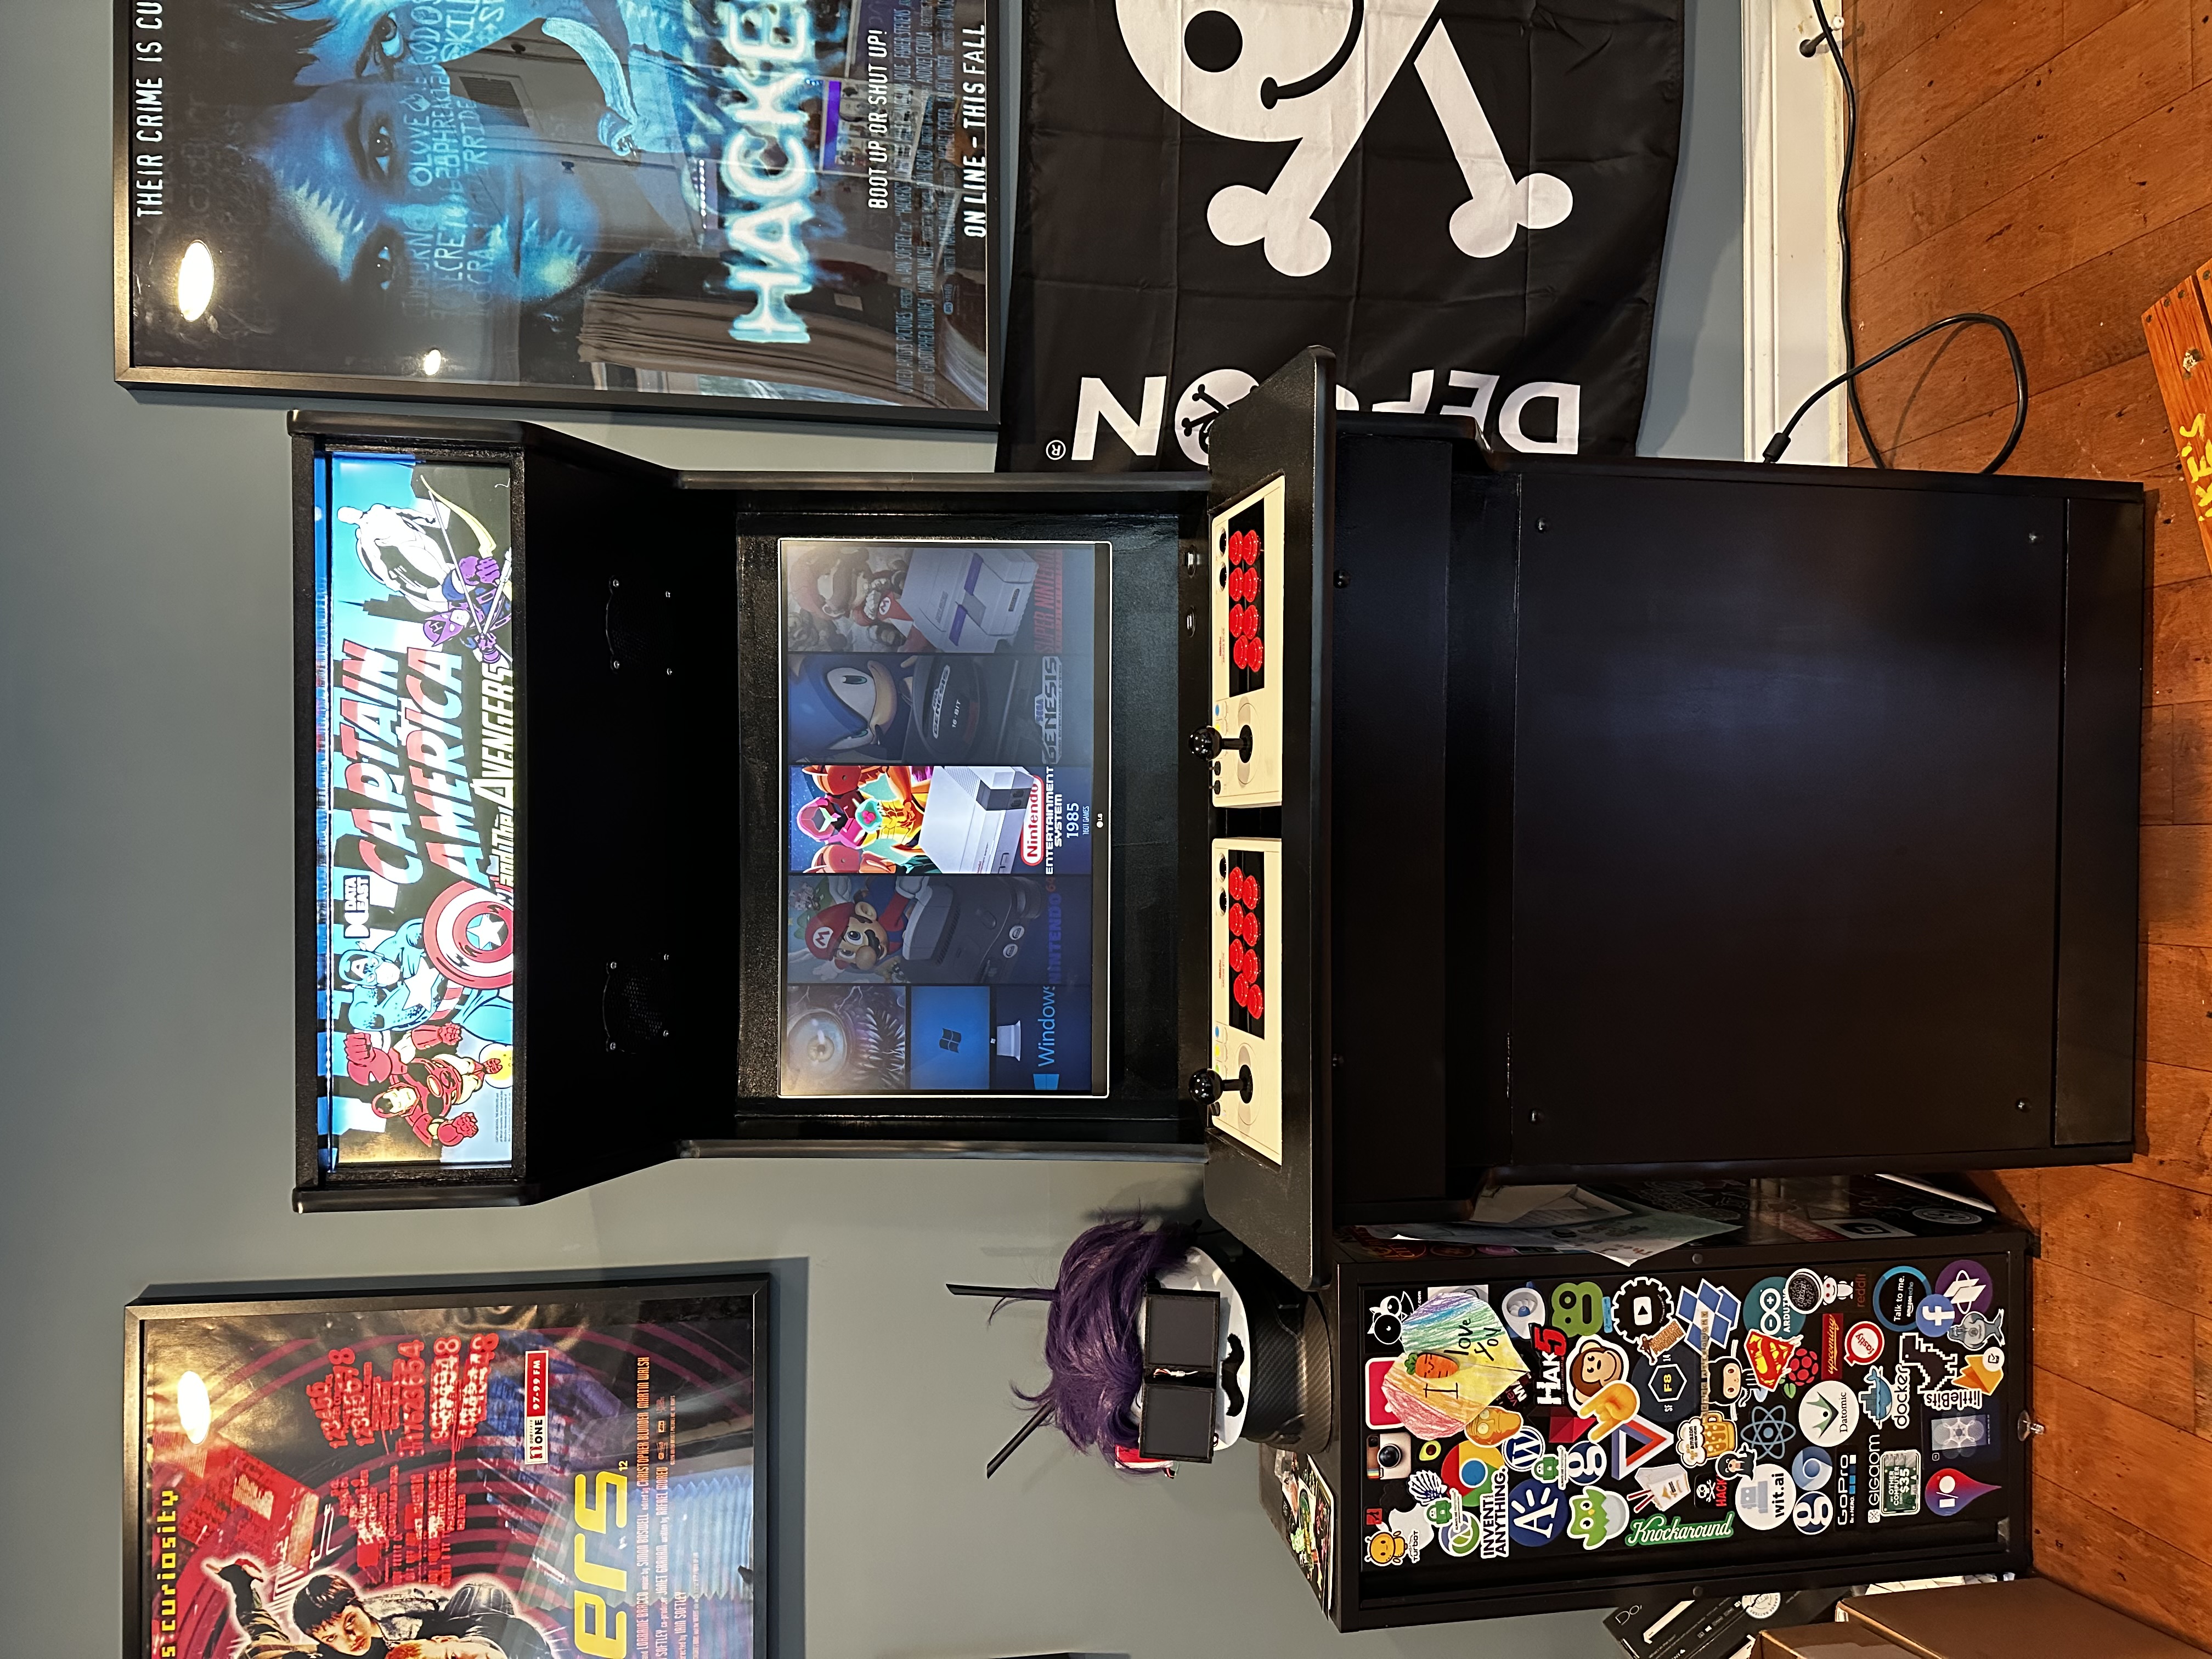
The computer is a Windows gaming box that I use for gaming but also as a Windows work station for testing security software or those times when you just need a Windows box. I set up a separate Arcade user and installed LaunchBox to use as the interface that would automatically start on boot up.
The Review
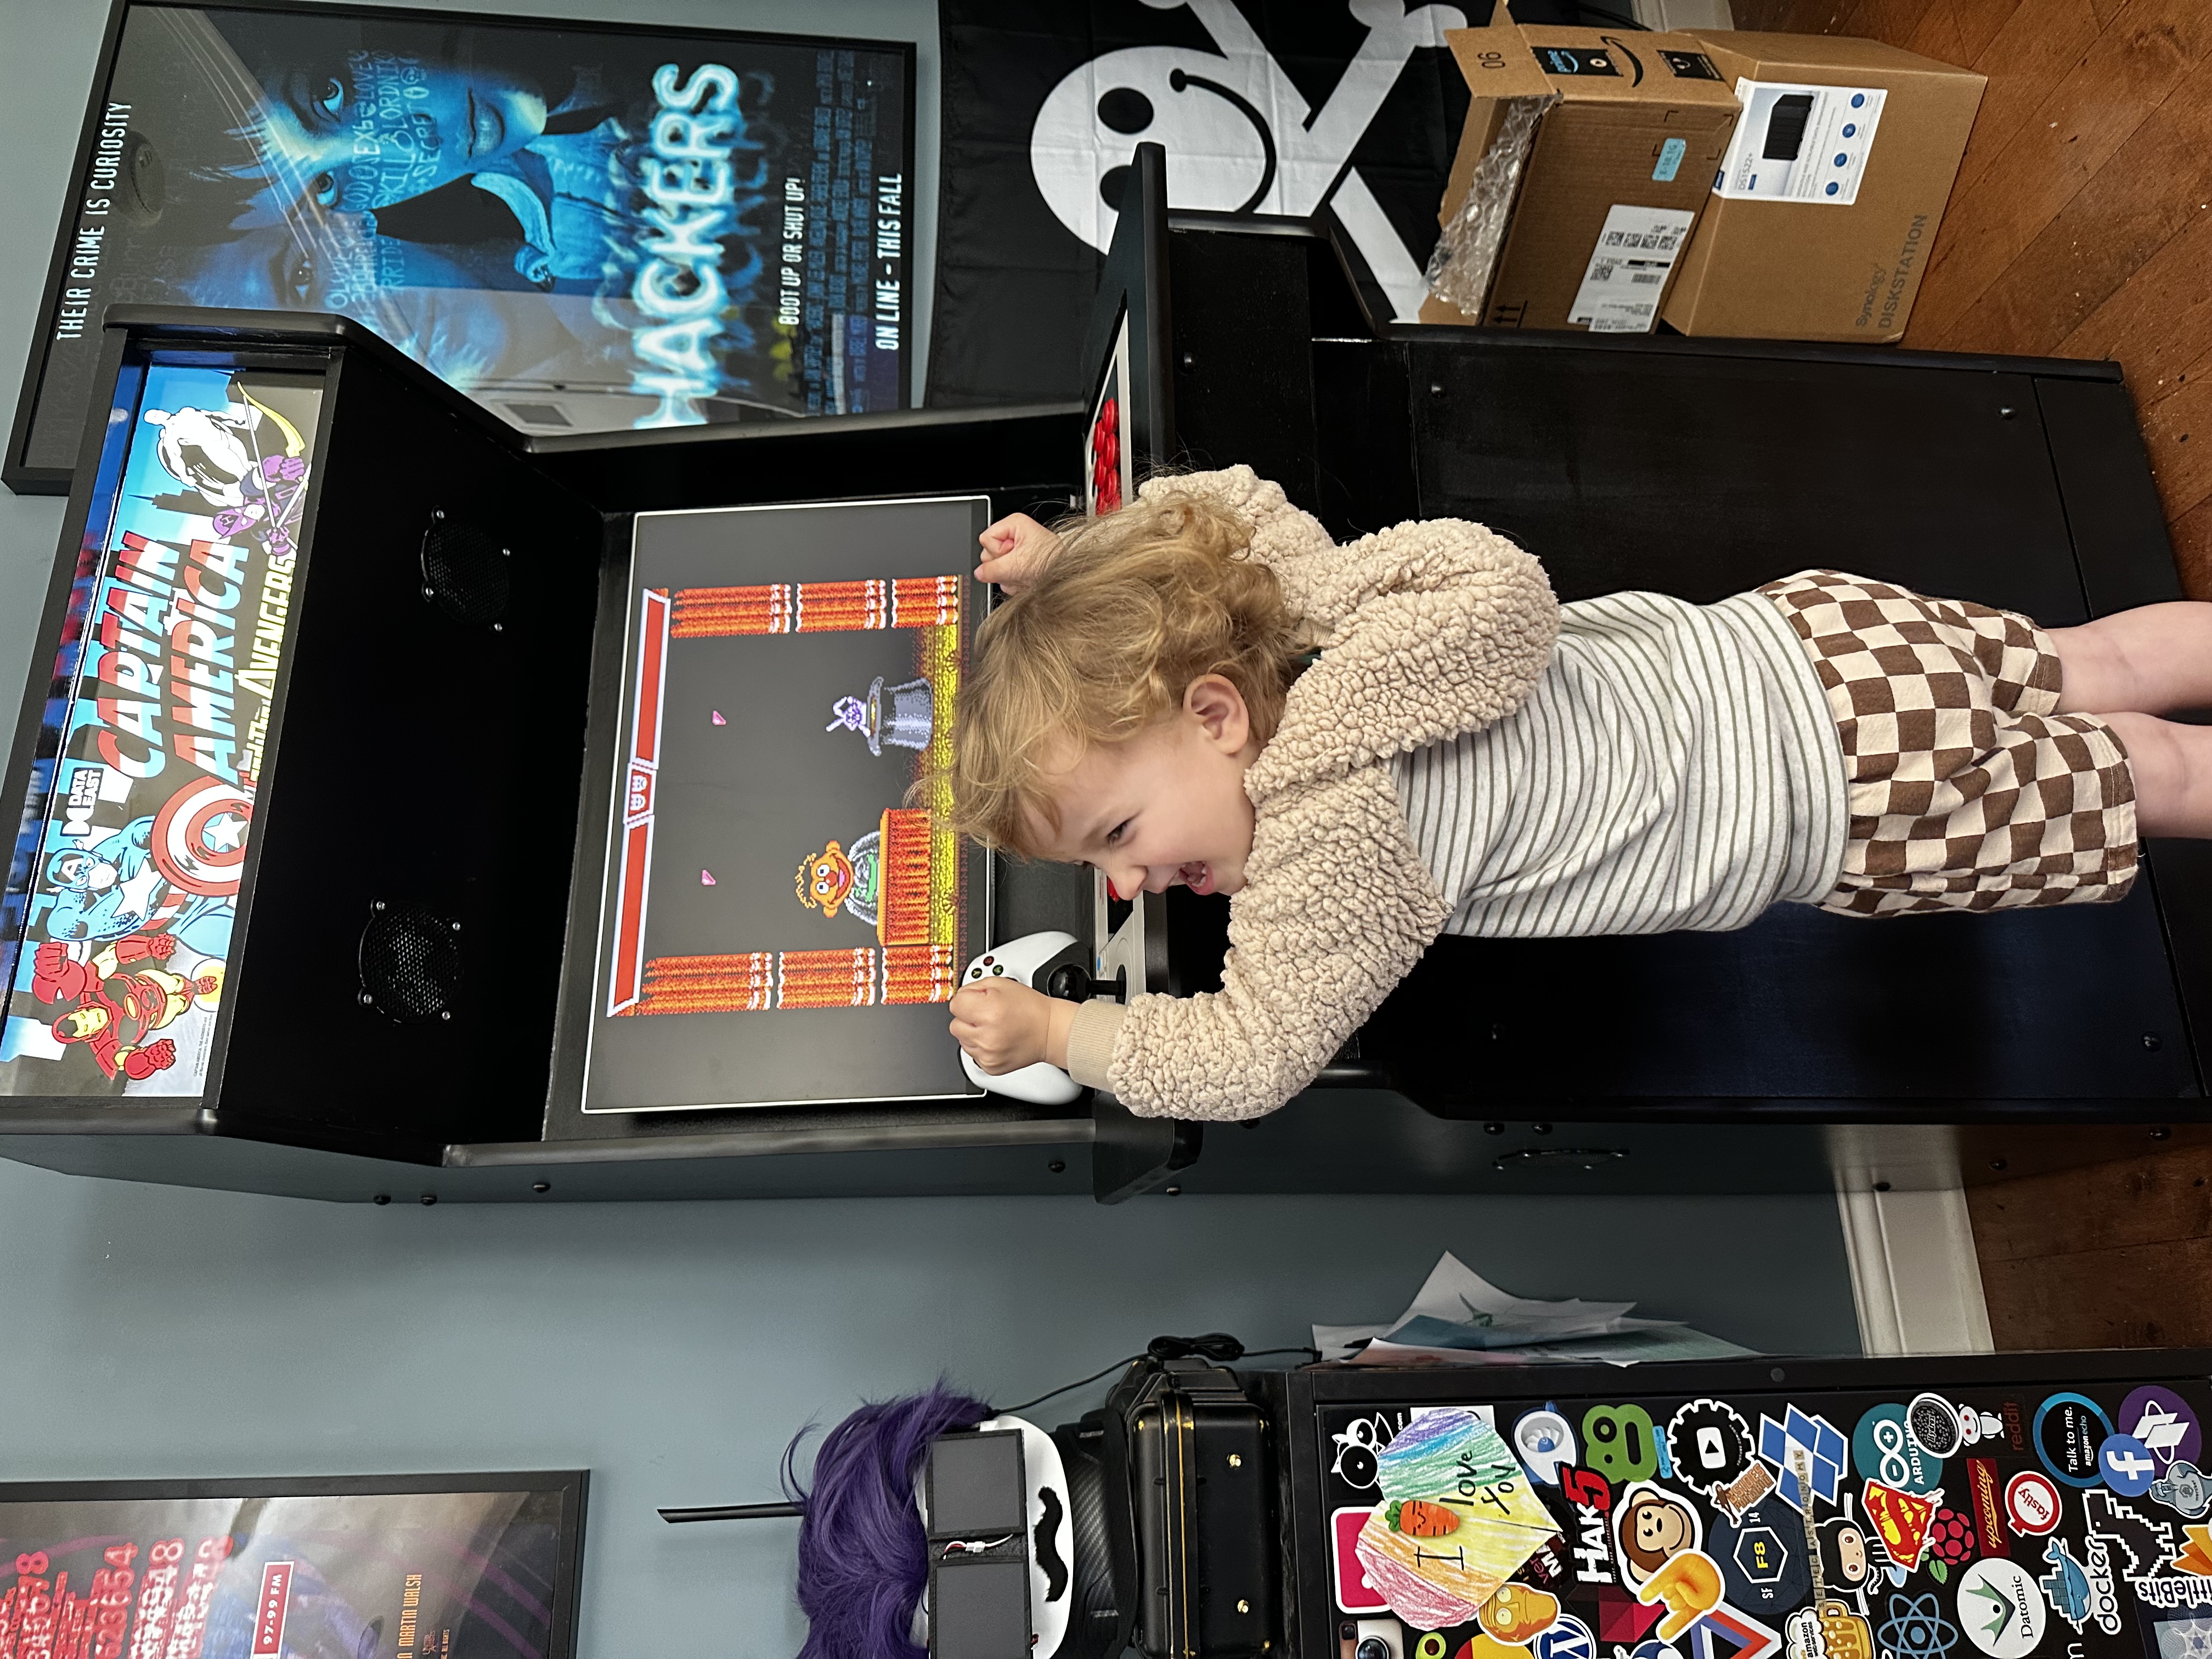
In short, it really turned out great and the kids it. Ryan is really discovering the joys of old Sesame Street NES games!
The only thing I would have done differently is the t-moulding. I love the look, but I wish I would have gone with a different color than black. I don’t fault my choice as I wasn’t sure what my design was going to be and I didn’t want it to be too garish, but looking at it now, I wish I would have gone with a blue moulding.
I am starting to add some stickers to the side in an effort to make it look less like a black monolith. I haven’t yet decided if I’m going to go all in on the sticker explosion look, which I do like, so I’m taking it slow.
The Additions
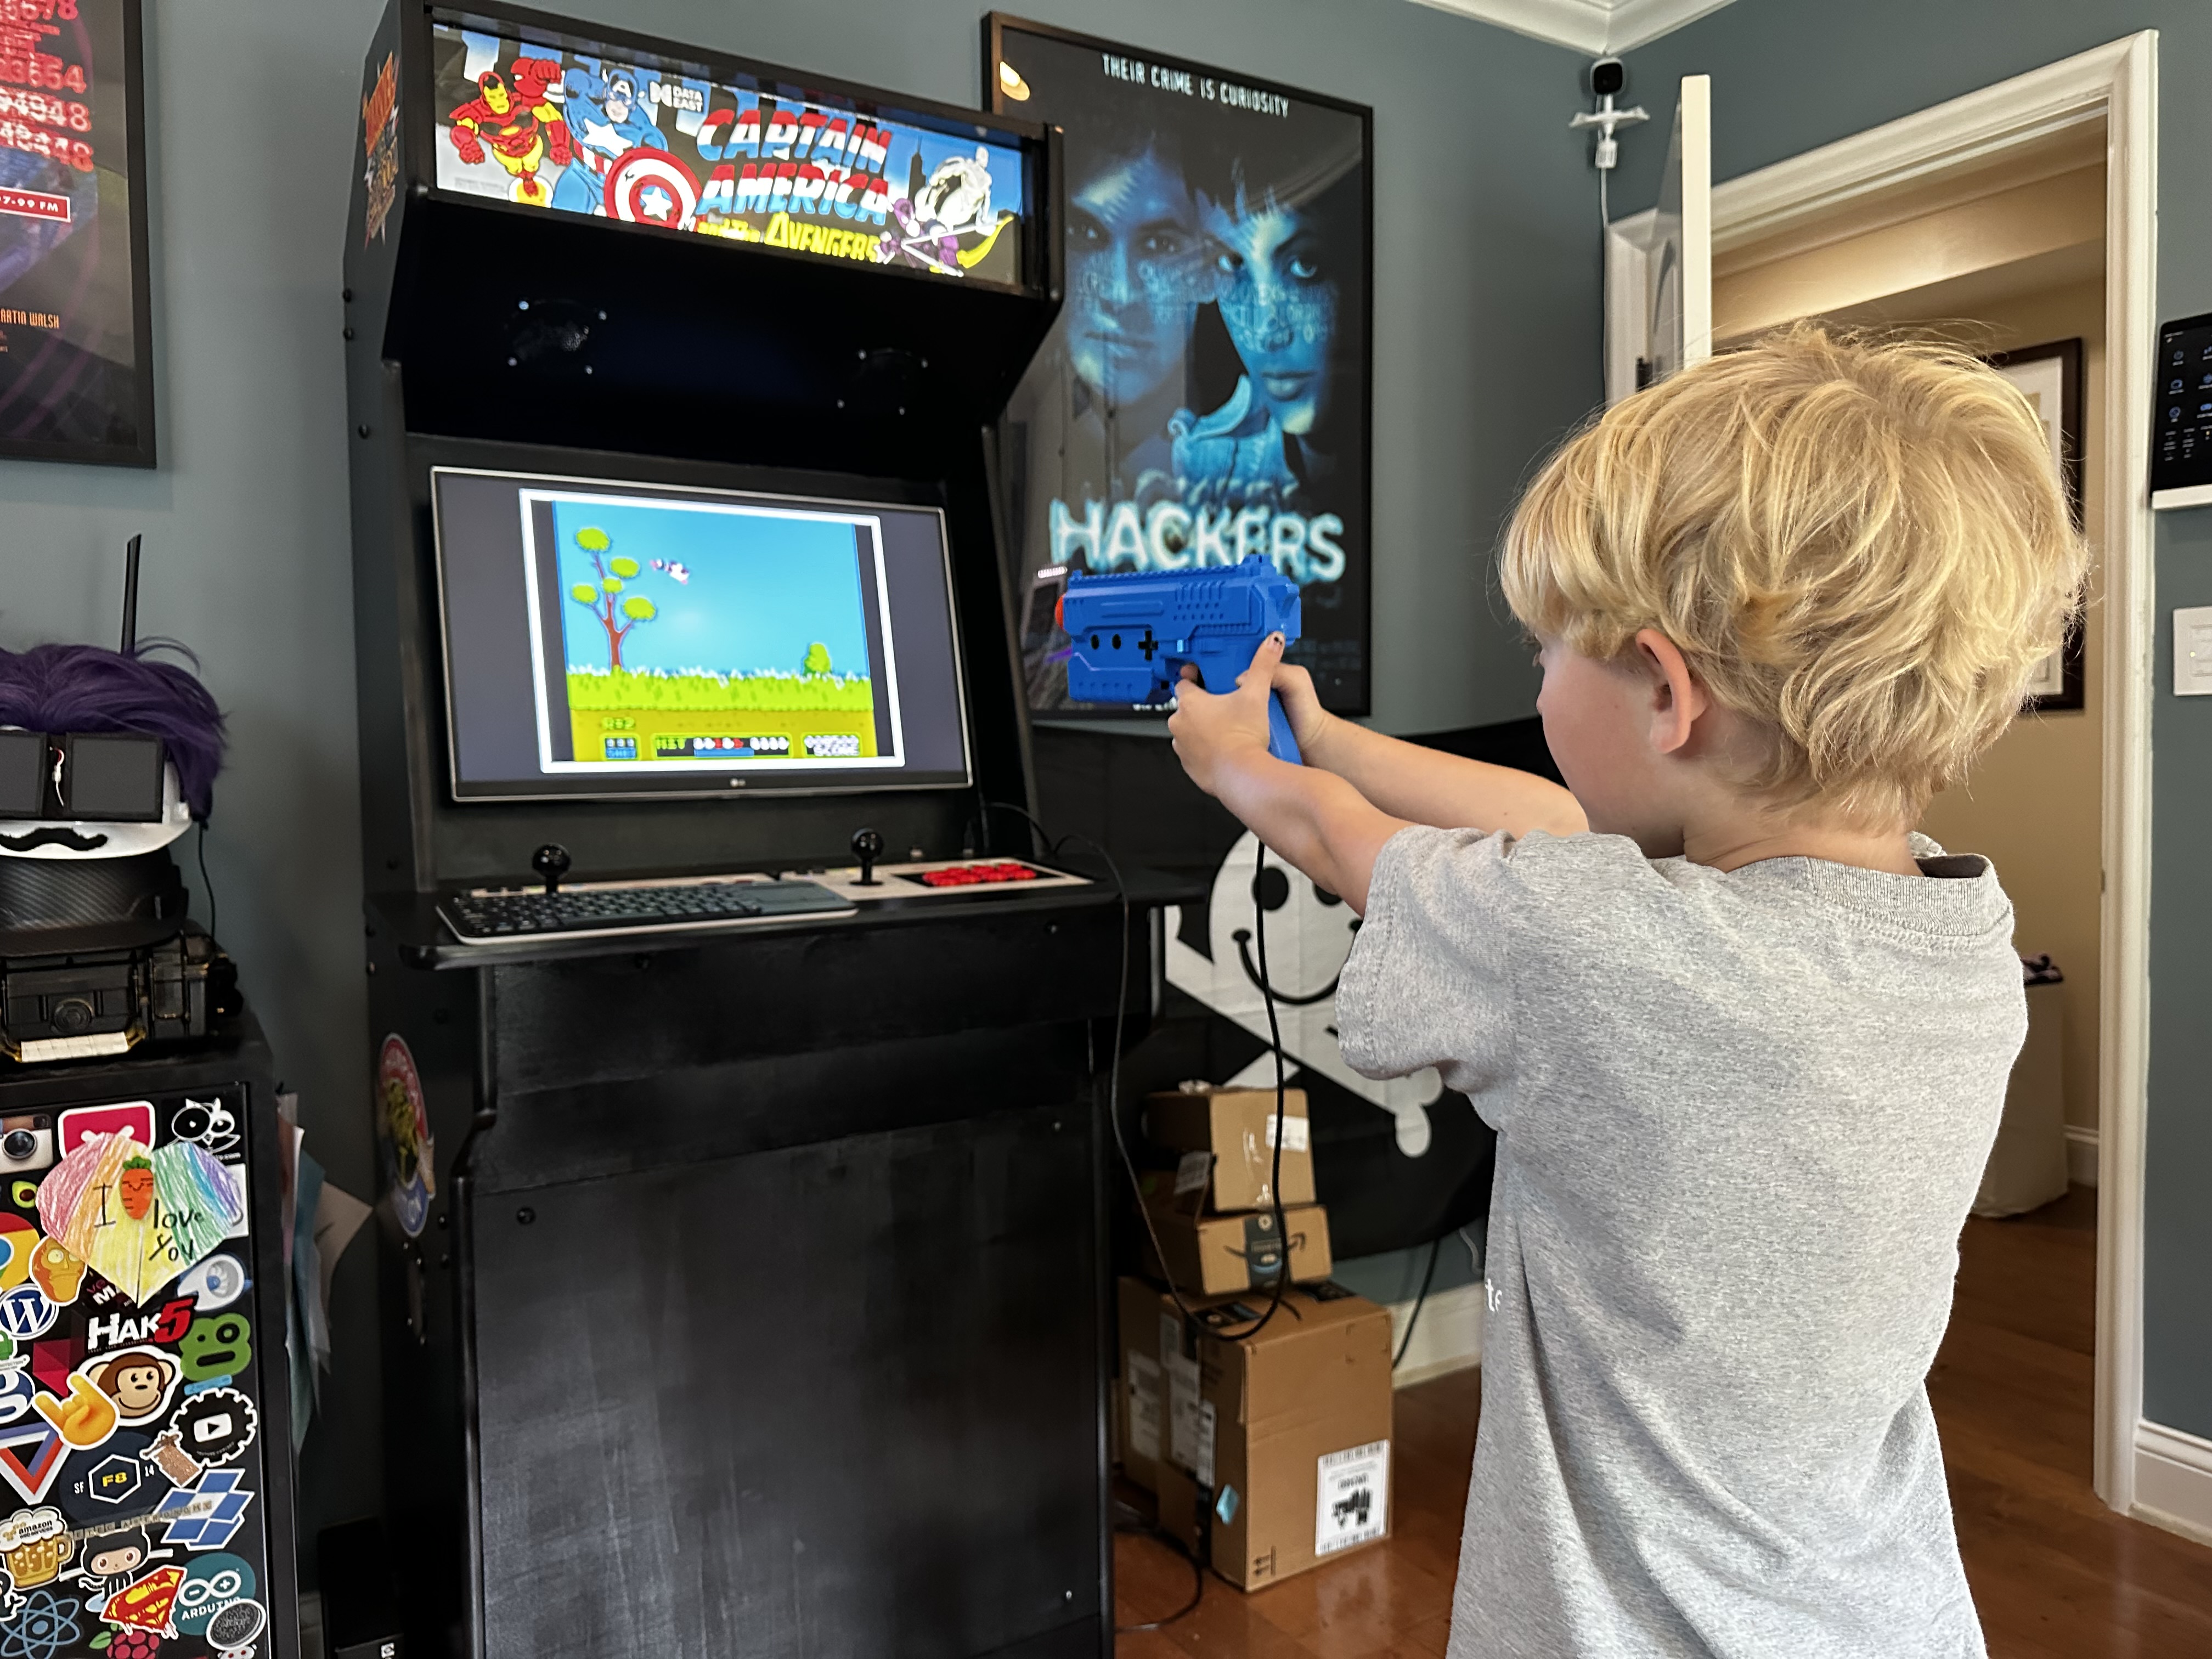
I have added a few things since moving it in to my home office. The biggest addition is the Sinden Light Gun. I really wanted a light gun to play some of those classic arcade games like Virtua Cop, and this is the best option on the market. It doesn’t work quite as well as I would have hoped, but it’s also a really fussy setup process so I might be able to further dial it in. My son Colin disagrees though. He is a huge fan of the light gun games.
While most of the games are “retro” I do also have Steam installed so I can play modern games and the arcade sticks don’t cut it with those games that need triggers and two sticks, so I 3D printed a couple of stands for spare controllers I had that work with Windows, painted them black and added them to them to the shelf below the monitor. I don’t use them a lot, but it’s great to have them there.
Most recently I added the Stream Deck Mini, which is a small panel of programable buttons. The reason for this is that I find myself needed a keyboard more frequently than I would have hoped, and while that’s not terrible, my goal is to program the most frequent keyboard actions in to the Stream Deck and be able to press a button or two and avoid having to plug in a keyboard at all while the cabinet is in arcade mode. This is a very new addition, so I can’t yet confirm if it’s successful.
Let me know if there are any questions! I’m more than happy to answer them or dive in to more detail on any aspect. If you are thinking about making your own arcade cabinet I think you should! It was a really fun project the result has been a lot of fun and definitely a conversation starter on Zoom meetings!
Related Posts
How Not To ‘Pilet’ a Kickstarter
How a promising Kickstarter project was driven into the ground by the team behind it.
Read more
Running Quackjack For Everyone
A while back we started to open source YouTube video comment analyzer named Quackerjack, and lately we not only updated the project with a new design, we also set up an instance that anyone can use for free. If you need to understand how your audience on a YouTube video is responding and what they are talking about, you can do that quickly with Quackerjack.
Read more